Bike looks awesome ! Are they vfr specific fairings for the subframe ?


Bike looks awesome ! Are they vfr specific fairings for the subframe ?
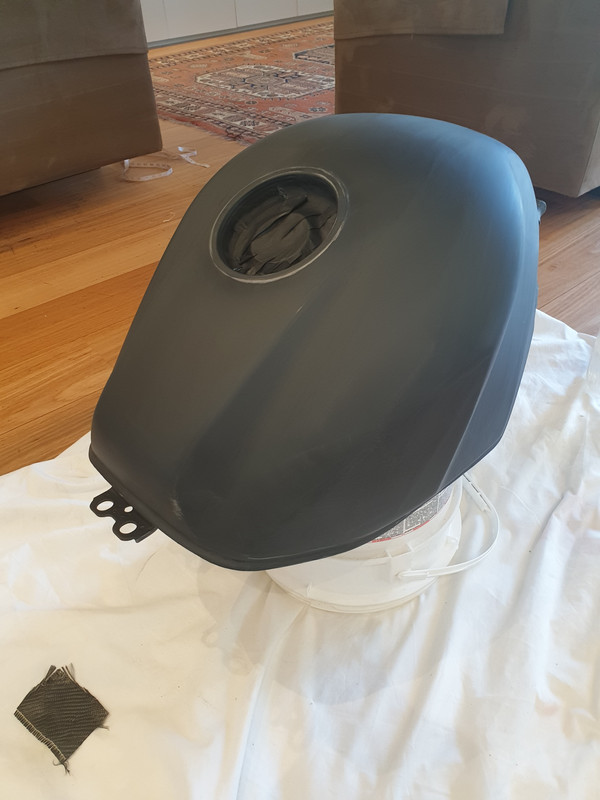
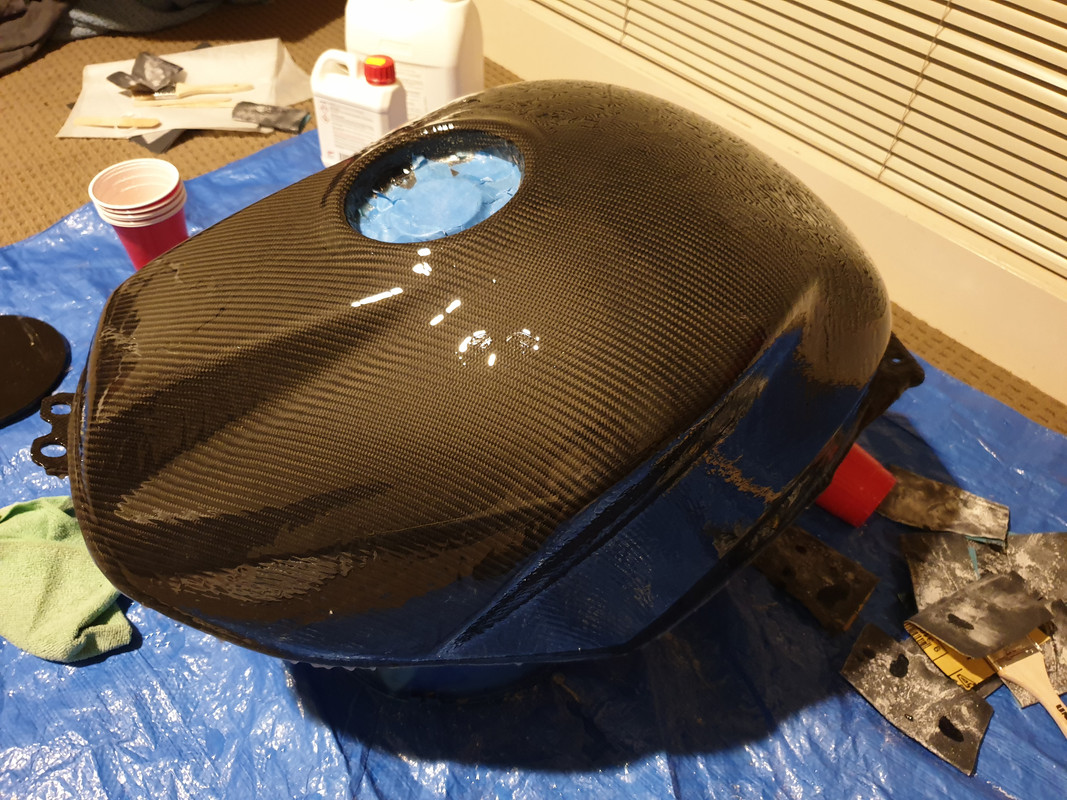
Filled in the major dents and laid down the first coat of primer on the tank. More sanding and primer to come tomorrow then with any luck I'll have the materials for the top coat by next week.
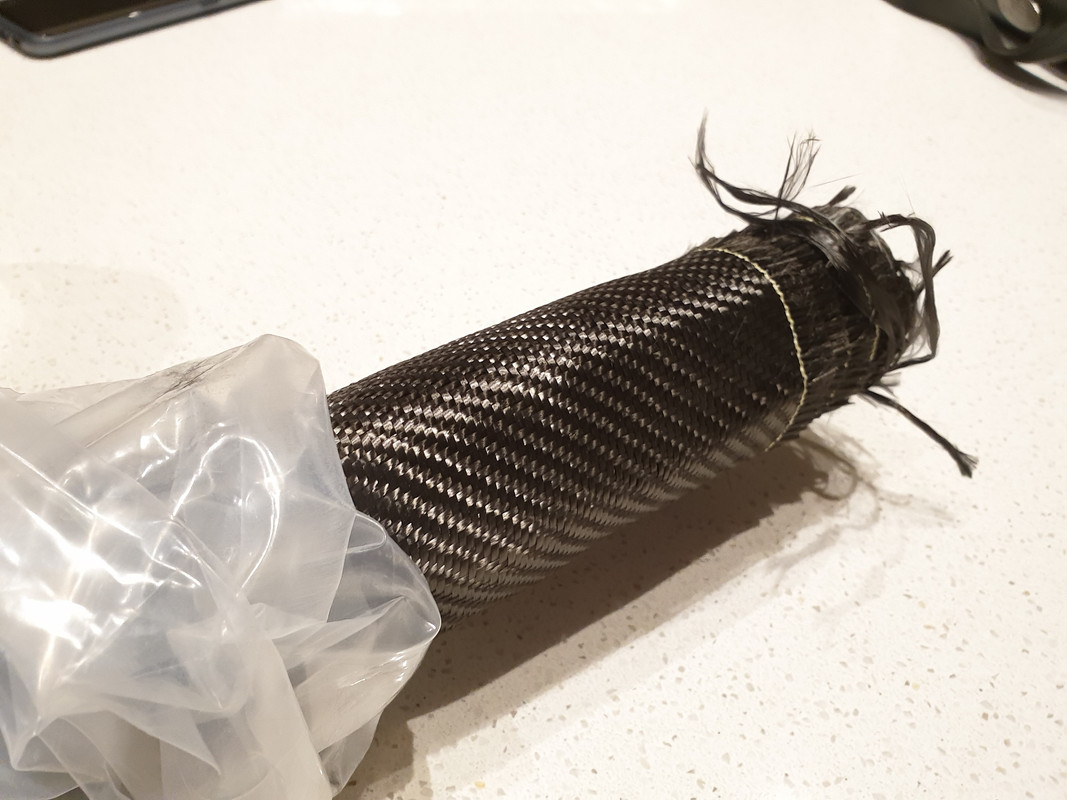
It's a pain in the ass to find carbon fiber cloth locally
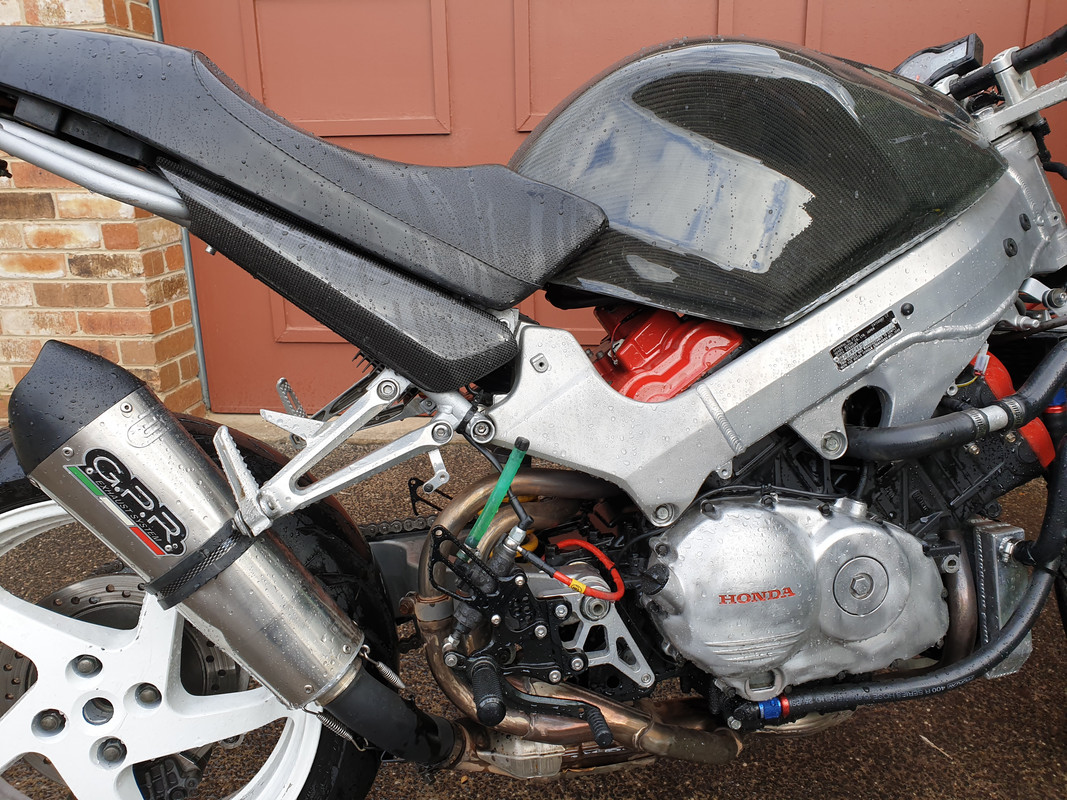
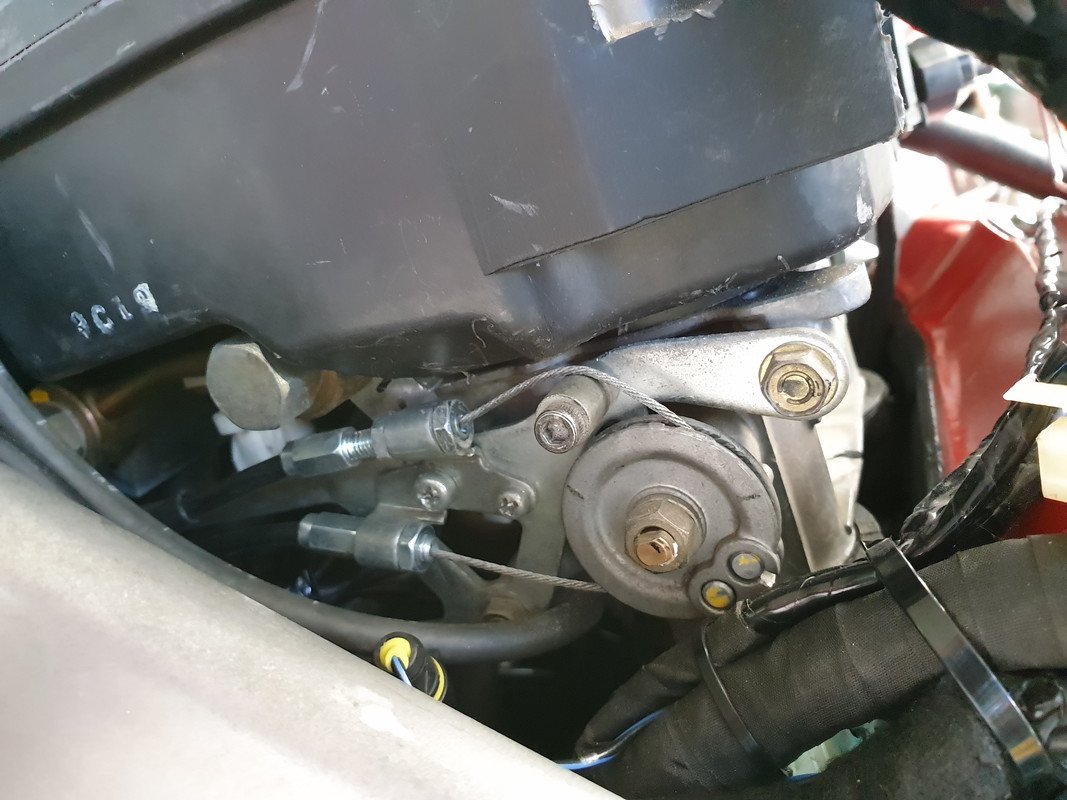
Also got sick of my loose af st1300 throttle cables, so I made up a little spacer to take up the slack. Works great
The goods have arrived
Got a couple square metres of twill, uni directional and fiberglass mat, along with UV protected hardener and resin.

Yea, as Auser6guy says, those infills look spot on! Nice work.
Sorry just saw your question, they are panels for a Ducati S2R. My subframe is from a Ducati M600 so I had to weld on some extra tabs.Originally Posted by Auser6guy

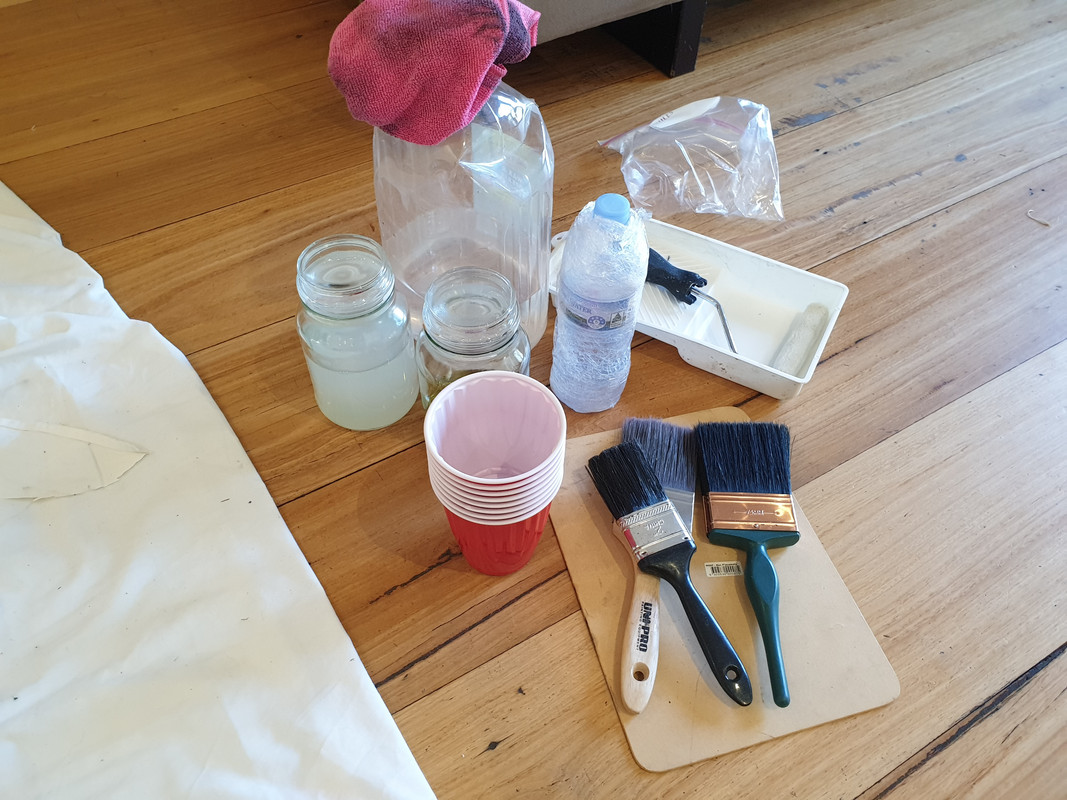
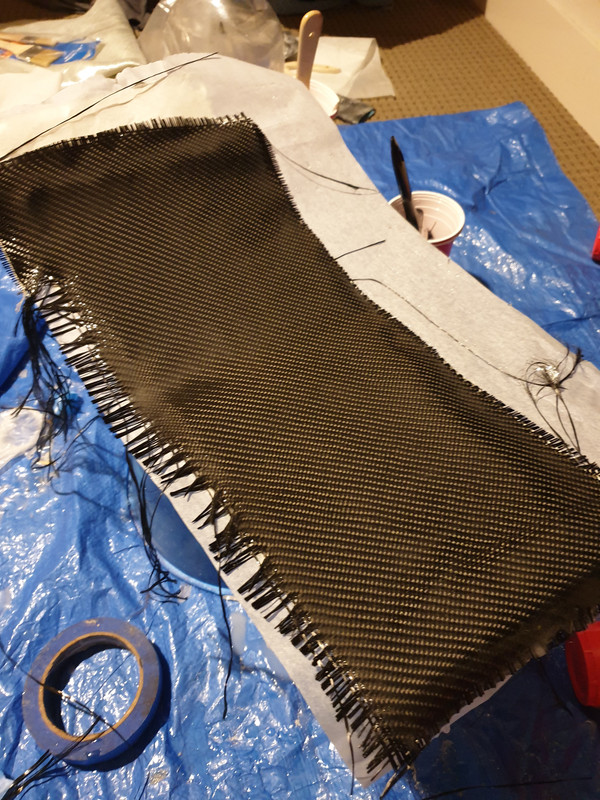
I started the carbon laying process today after a lot of research and chatting to a guy who has many years of experience laying carbon for yachts (masts, struts etc). He gave the following advice:
So I started off by turning the heating up to 25 and scuffed the paint back as it was warming up. I added a few coats of black over the primer I had done previously so that if there is any separation in the twill weave the black would blend in nicely.
- Scuff the base with 240 grit to ensure good adhesion
- Mix the resin in around 25 degrees celsius and let it sit for 5 mins before laying to reduce air entrapment
- Use a mohair roller to brush the carbon down before finishing with a brush
- Let cure for at least 8 hours, then sand with 80 then 120 grit to remove highspots and blemishes
- Re coat using a brush to add depth then ideally top with a 2k clearcoat
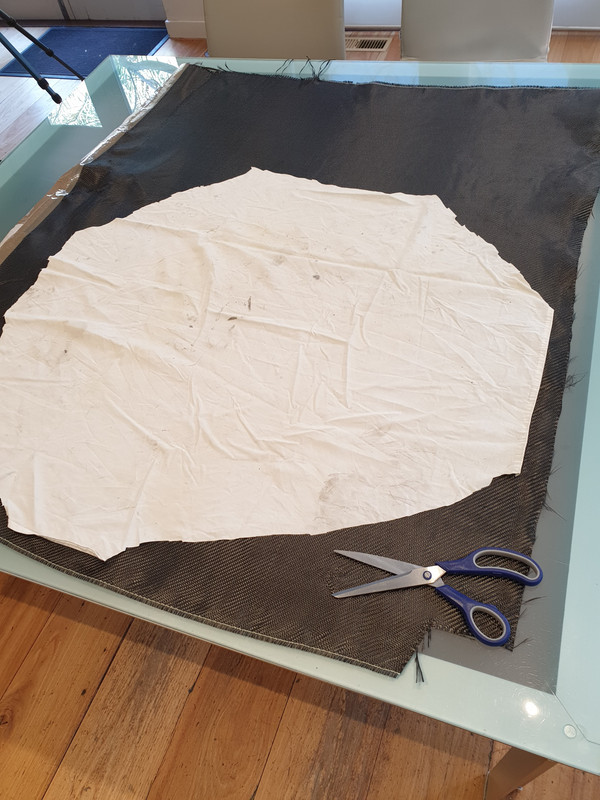
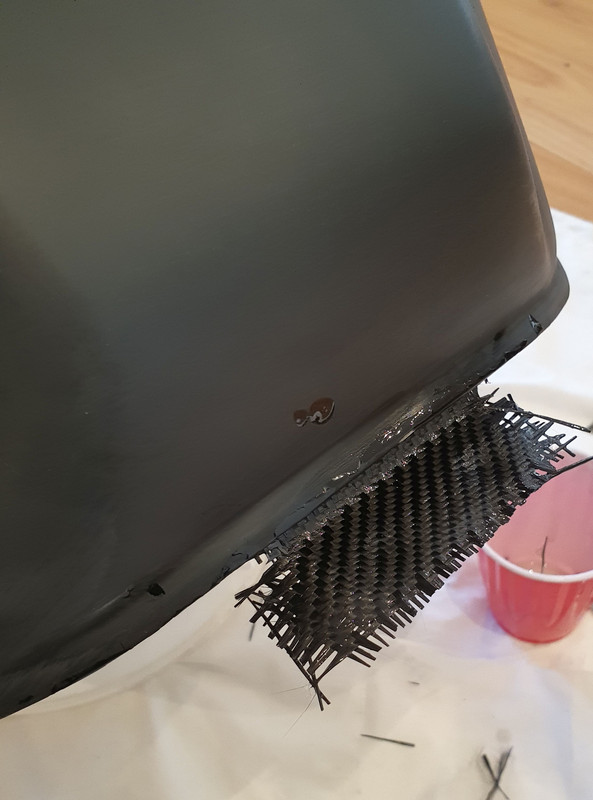
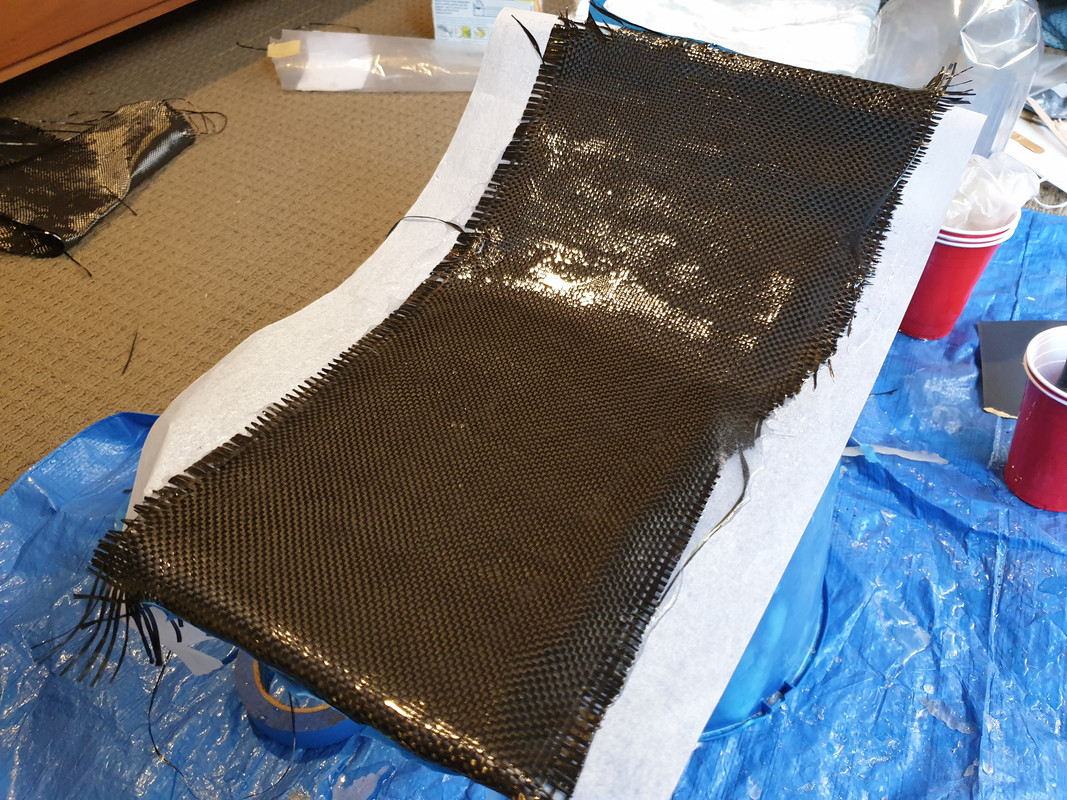
I then cut up a template from an old sheet and transferred it to the carbon fiber.
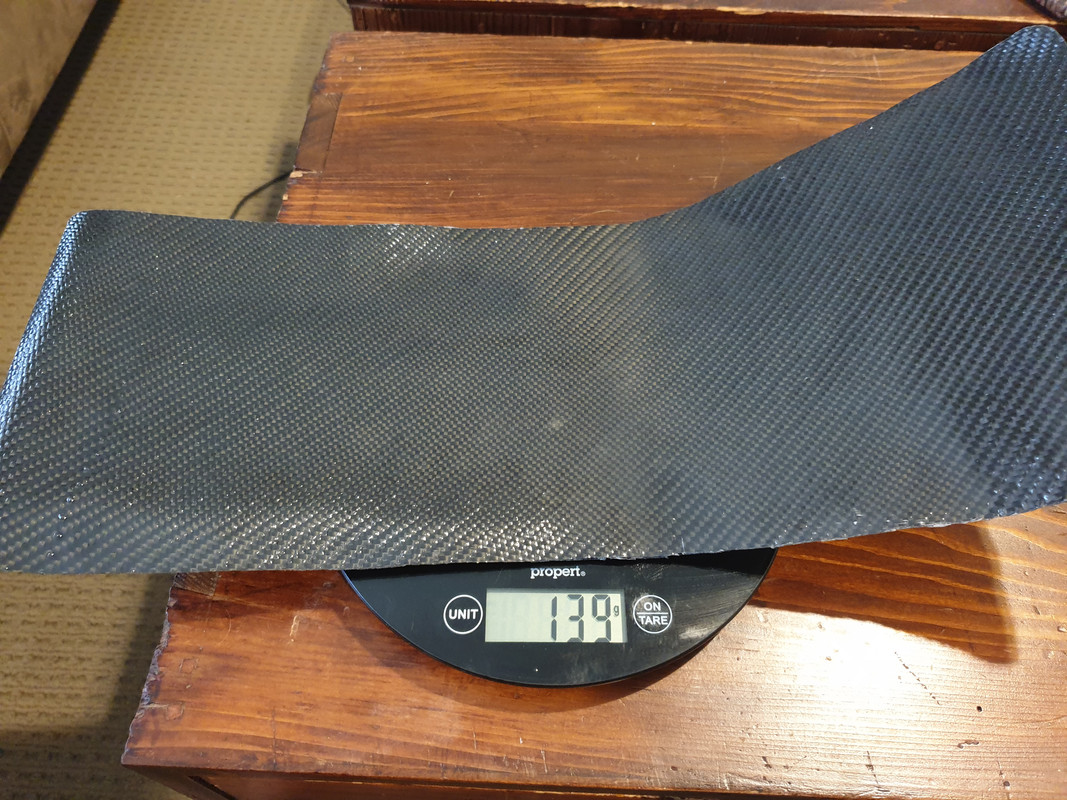
These are the tools I used plus a digital kitchen scale to get the resin mix right. In my case I used the kinetix system with a UV resistant hardener which calls for a 4:1 resin to hardener ratio.
I started off with a small test piece on the front mounting bracket. That went well so I moved on to the main piece.
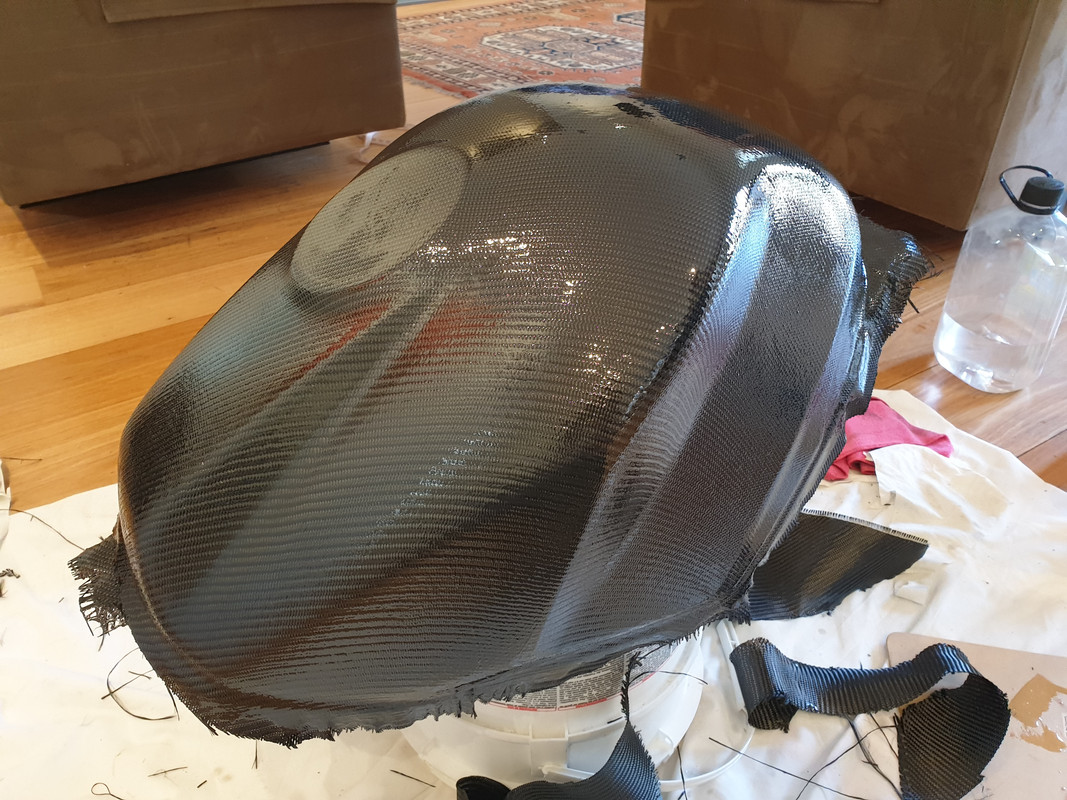
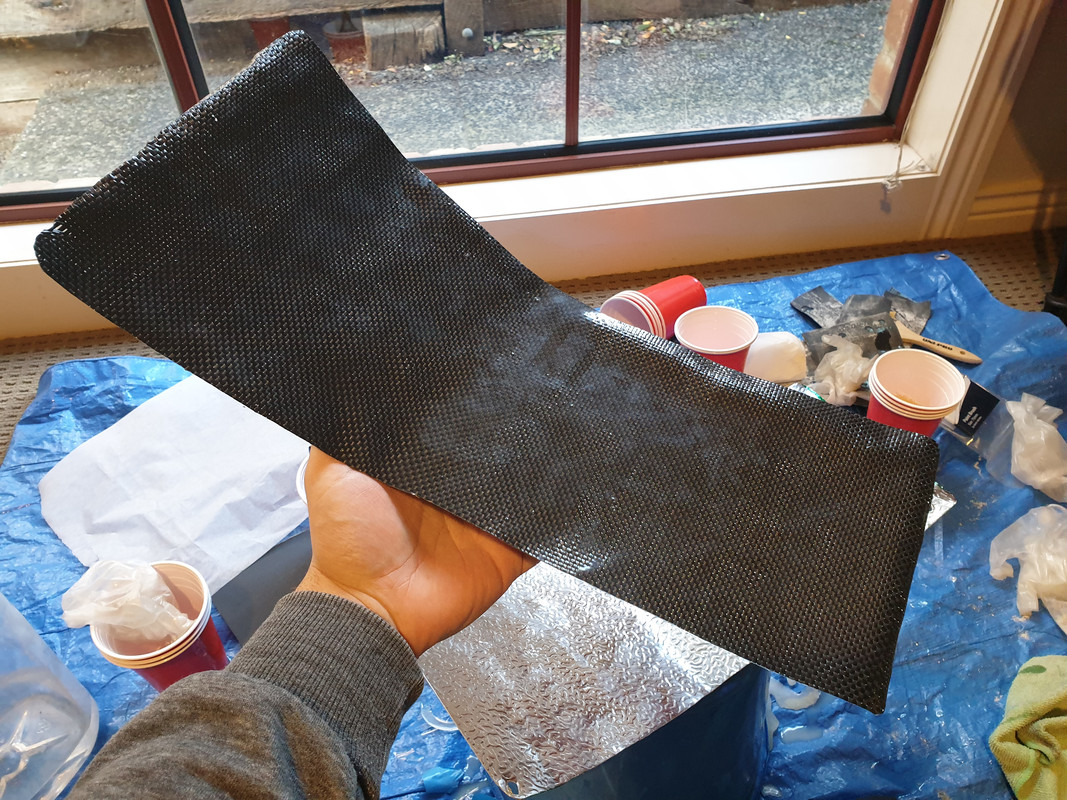
I was able to wrap most of the curves without issue but did have to make a small cut on the rear of the tank. It is covered by the seat so wont be visible
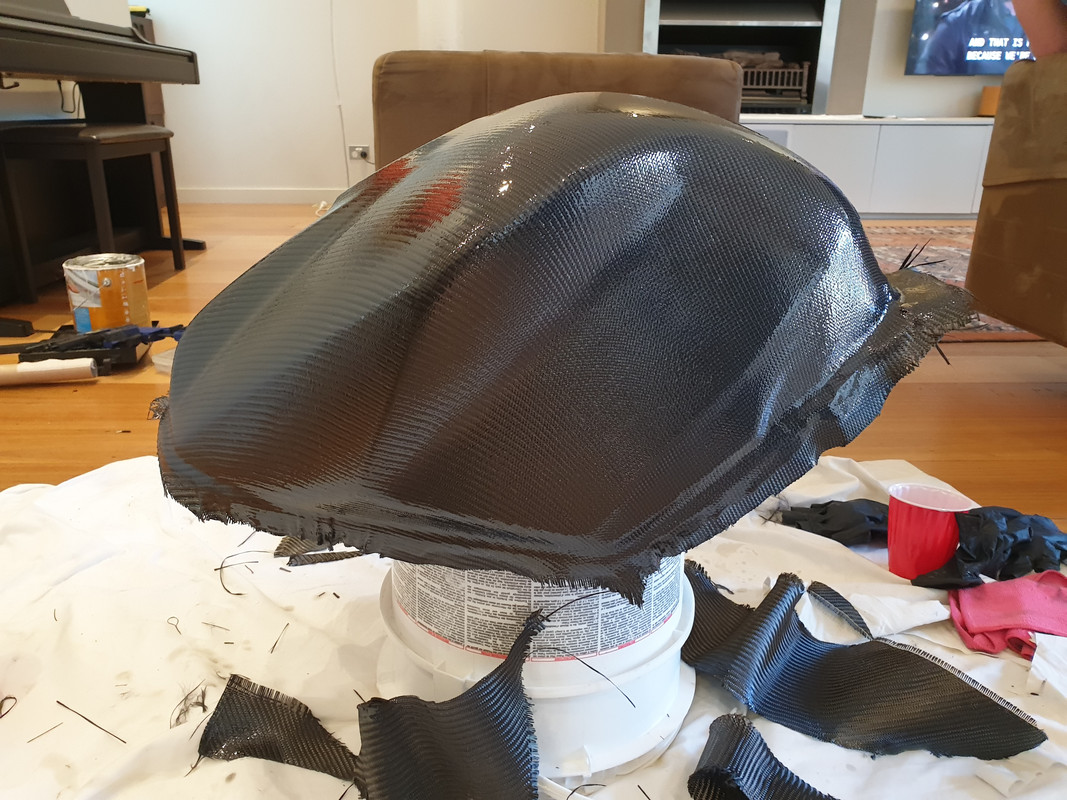
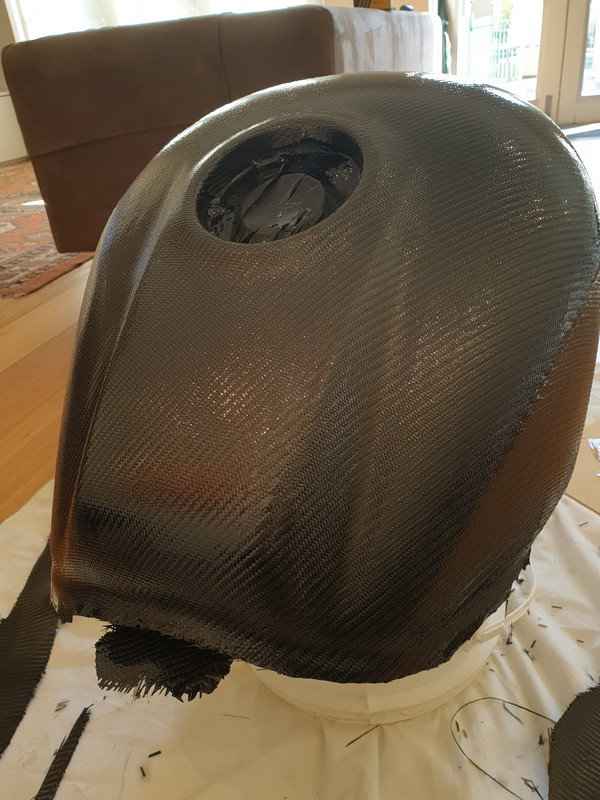
After letting it cure for a few hours I trimmed off most of the excess fabric and cut out the fuel filler cap hole. I originally planned to fold the edges around and stick them to the underside of the tank but I found the carbon was to 'springy' so instead I will just cut it down to meet the edge post cure.
I'll be leaving it for a full day to cure before moving onto sanding and the next coat of resin. Overall it is a pretty straightforward process and can be pretty cheap. I got my carbon sheet and resin free but had I purchased it the project would have cost ~ $120 AUD.
I would definitely recommend it as a cheap alternative to painting especially if, like me, you don't have a spray booth/gun. Plus I have some leftover material which I plan to use with the fiberglass I have to make a new undertail tray
Last edited by I0seb; 14-09-2019 at 03:37 PM.
Nice post Seb!
Thanks!
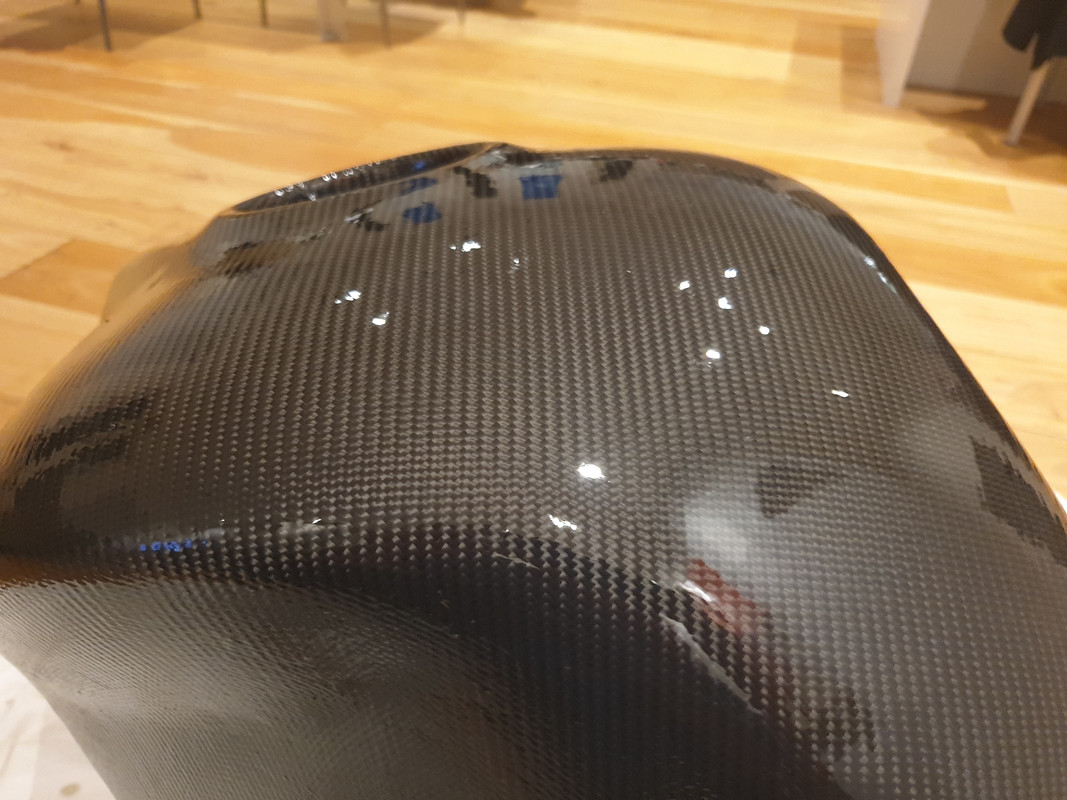
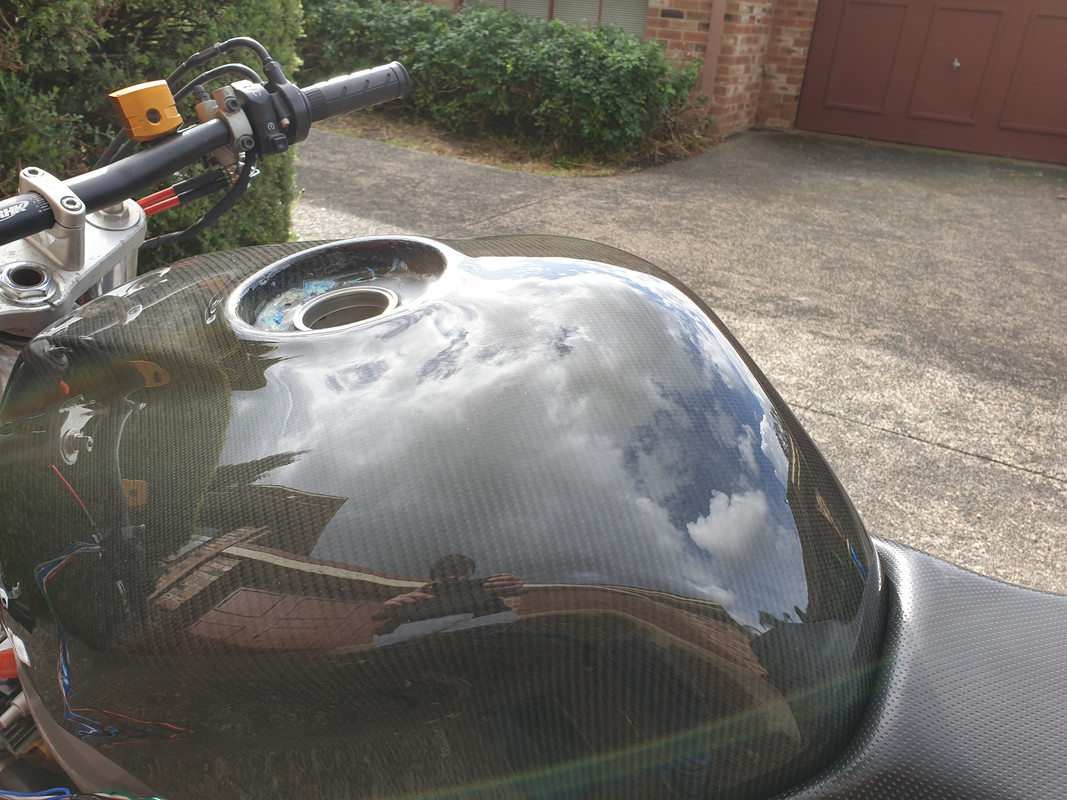
I laid down the last of my resin yesterday, super happy with the depth and gloss on the top but the sides could use some more layers. Will have to go restock.

Love the look mate
Ladies and Gentelmen, take my advise. "Pull down your pants and slide on the ice."
That's looking awesome
Yep, I have to agree. Looks fantastic!
If I had a dollar for every time I thought about you, I'd start thinking about you
Thanks guys! Sadly I had to put the VFR into storage today (along with another WR450 project I'll share when I've made a bit more progress on it) as we are moving. Hopefully it will only be a couple of months till I can turn spanners again
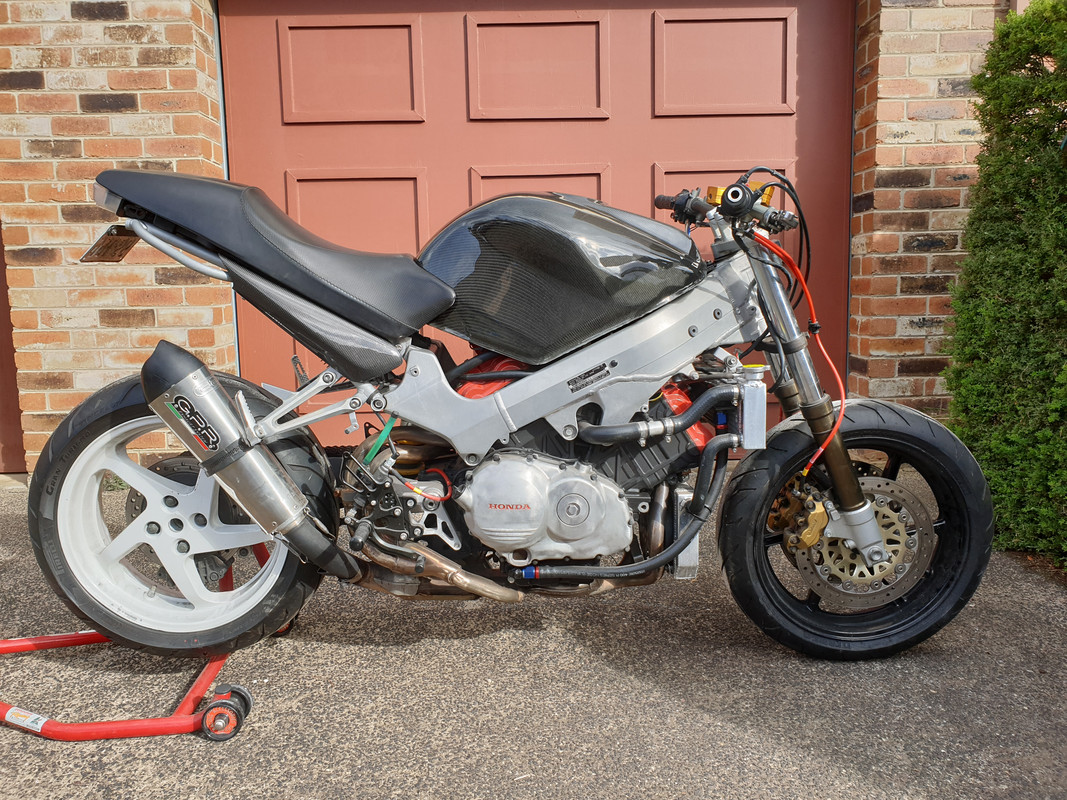
Update time!
COVID has given me plenty of time to work so I dived back in to the VFR, keen to get it 'finished' asap.
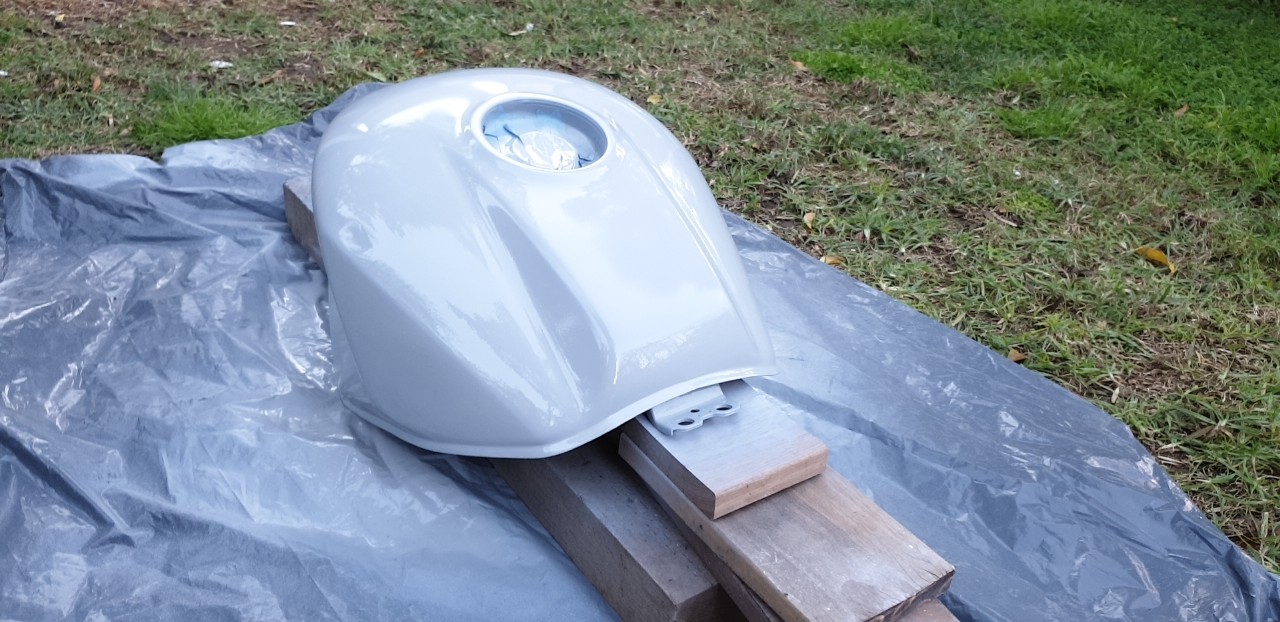
Started by laying down some more resin on the tank then shipping it off to the painter for a coat of clear.
I switched back to a conventional ignition switch as my keyless system started playing up, it was nice while it lasted :P
Sadly the switch back to a key ignition means my headlight/mounts no longer fit, thinking I might grab a Ducati S2R front assembly and make it fit.
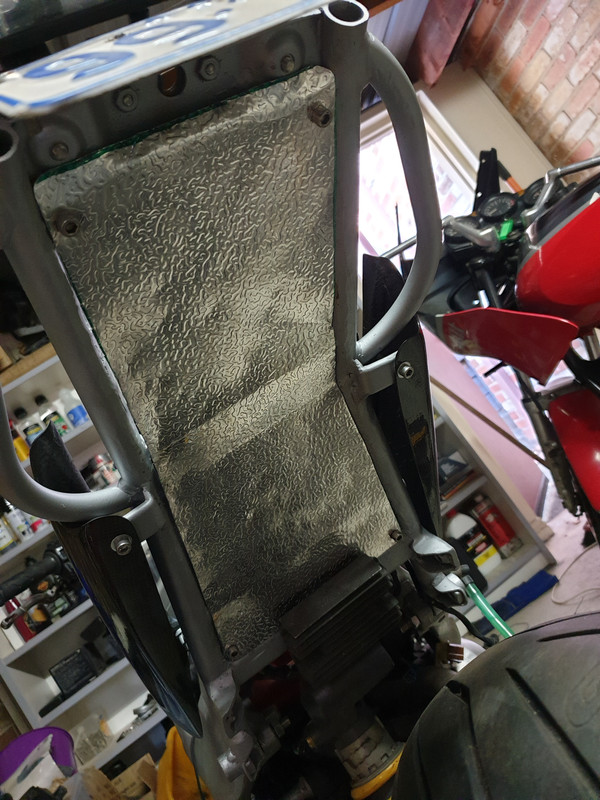
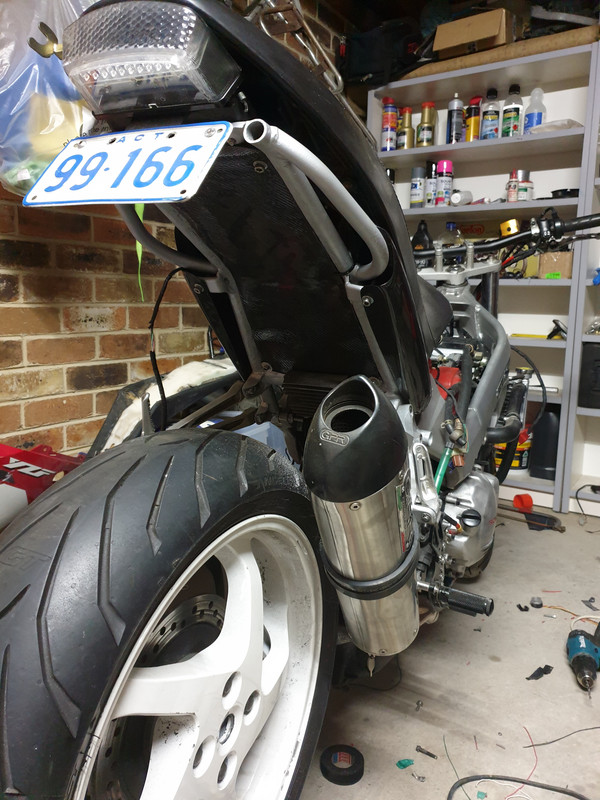
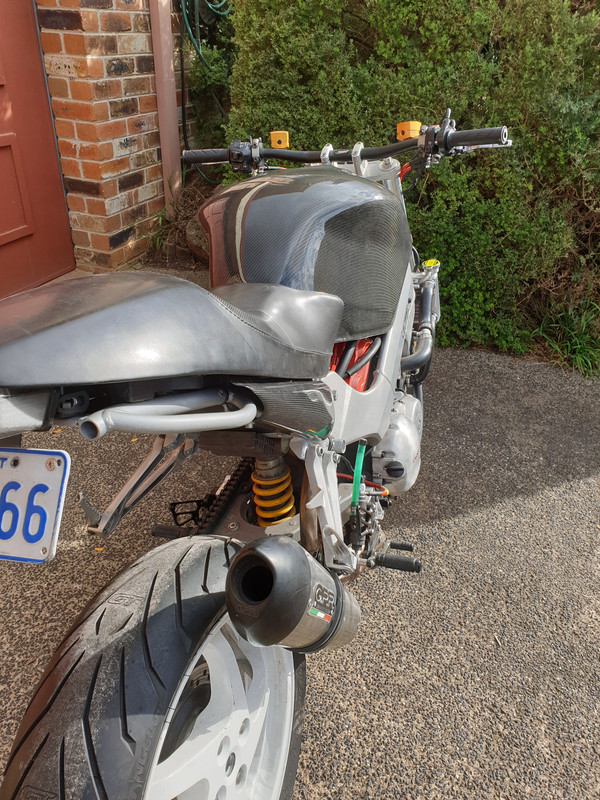
Finally I made up a carbon undertail panel, started with an aluminium template:
Wrapped it in baking paper then laid some bi weave carbon as the base layer
[/url]
Cleaned up the edges
Then finished off with some tri weave
Pretty happy with the weight, about 1/4 the weight of the steel panel I used to have in there.
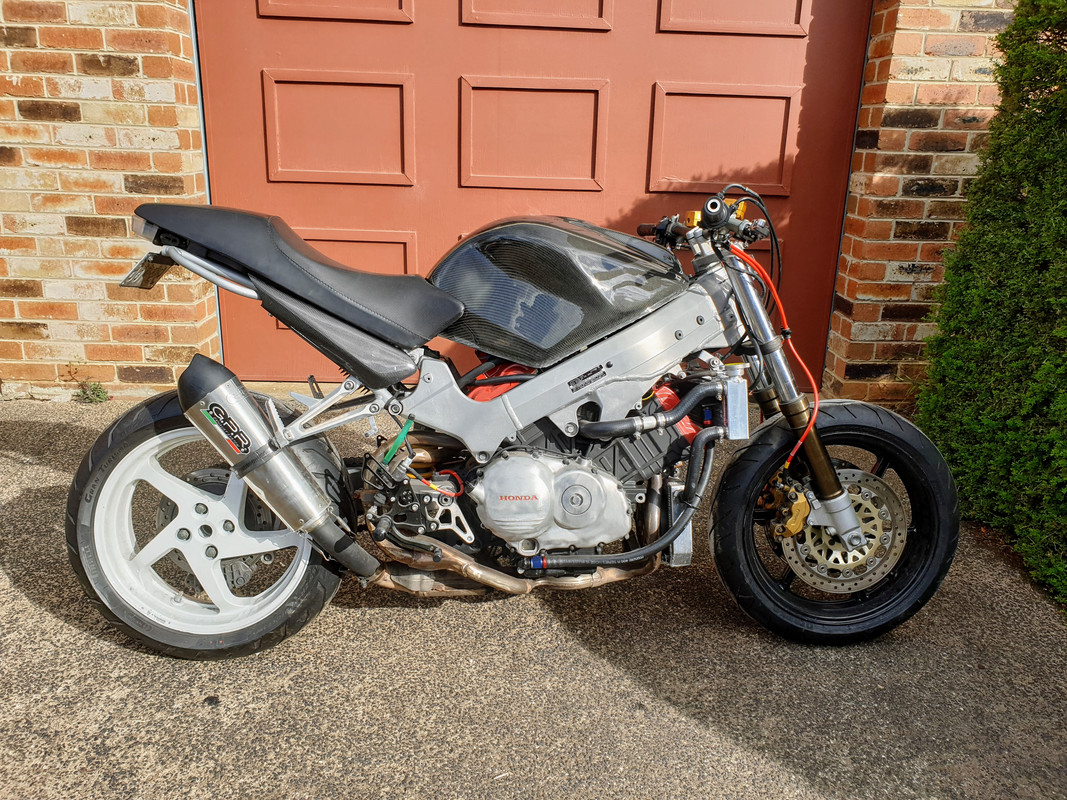
Shitty pictures but it fits well, does a good job of hiding the electronics and ties in with the rest of the carbon nicely. The observant will notice I also painted the subframe aluminium instead of bronze.
Hopefully the tank will be finished in the next couple of days and I'll be able to get her started again
Coming along great mate. Love the carbon look
Ladies and Gentelmen, take my advise. "Pull down your pants and slide on the ice."
Yea mate, really nice work. Well done.
Thanks fellas!
Tank is clear coated and looking pretty sharp, now to find a new headlight...
Very nice. Looking great
Ladies and Gentelmen, take my advise. "Pull down your pants and slide on the ice."
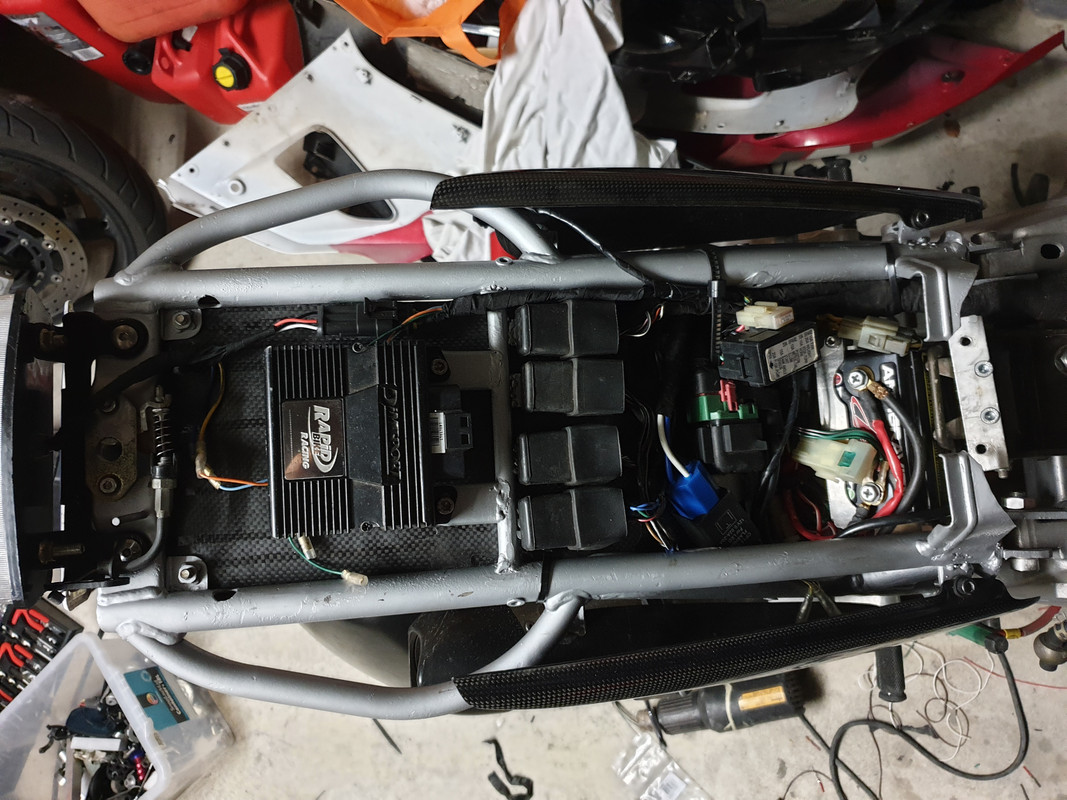
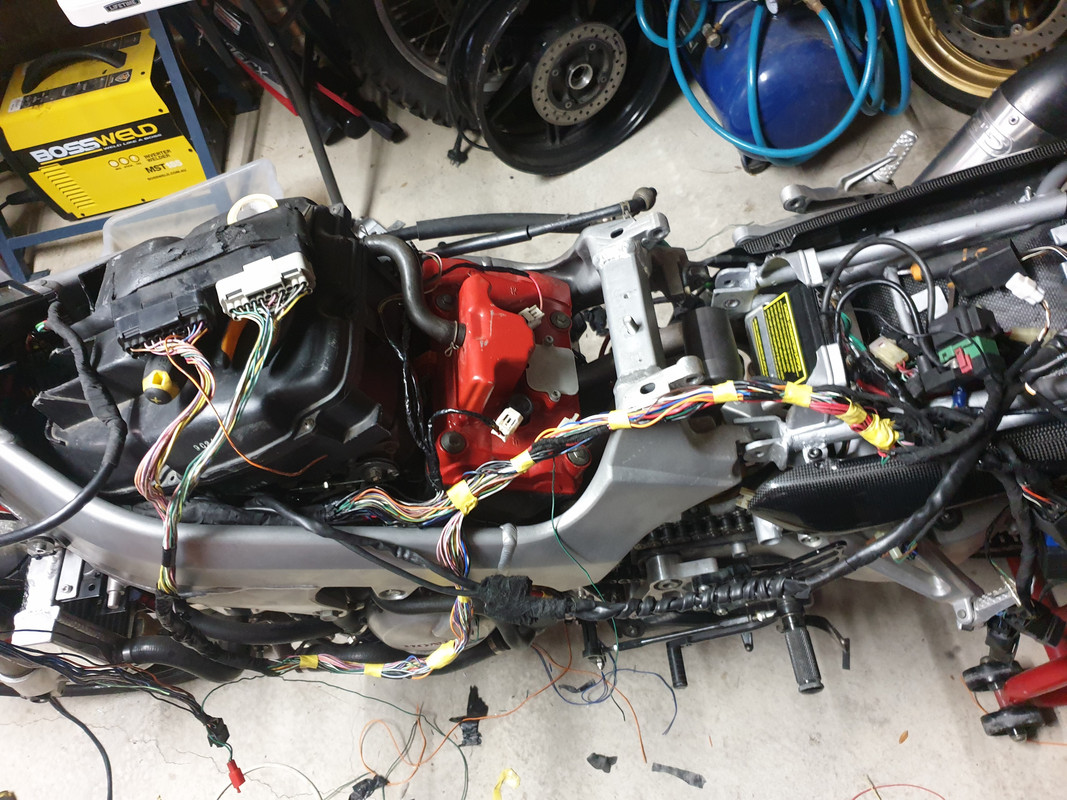
While waiting for the tank to be clear coated I decided to extend a couple of parts of the wiring loom so that they were better hidden.
While doing so I removed an unused diagnostics connector, I figured there was no harm in cutting it off as it was just a bunch of grounds that didn't connect to anything.
Big. Fucking. Mistake.
After removing the connector the following systems did not have correct grounds:
So I spent the last couple of days unwrapping the looms, running ground wires, testing and then wrapping back up.
- ECU (in three places)
- Headlight
- Fuel and ignition relays
- Turn signals
Finally I was rewarded with the joyous sound of four cylinders aligned in a 90 degree V firing.
http://webmshare.com/play/ZxebK
http://webmshare.com/play/DBKPV
So yeah, lesson learned!
Side note I loved the induction sound the bike makes with no airbox lid on, might open up the lid a bit more so it's always like that.
Looking really fucking good!
keep your airbox lid the way it is for now, so you can use it for the big airbox mod.
I sold my vfr, so i have a pipercross air filter (with an opened up lid) and a selection of short (6th gen oem) and super short (aftermarket aluminium)velocity stacks if you are interested.
more titanium than my bike
Sad to hear you sold the VFR mate, defs interested in the bits you have. If you've still got my email shoot me some more details there, otherwise I'll send you a PM.
Packed the wiring back in neatly and now you can see why I decided to make my life miserable and move everything around.
One of the things that kept annoying me with this build was the wiring floating in the gap between the back of the tank and the frame, so...
Before:
After:
It's the little things
 Posting Permissions

 Reply With Quote


.jpg)