The clips for the sub frame / fibregalss tail section are the go. Nice job, I wish I had access to all that gear.


The clips for the sub frame / fibregalss tail section are the go. Nice job, I wish I had access to all that gear.
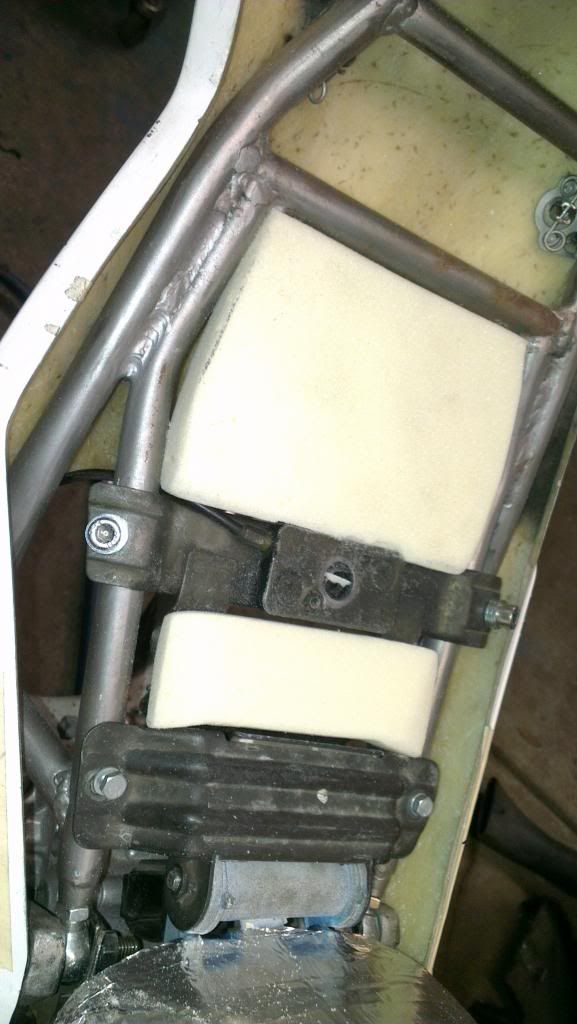
cheers stu , i want the tail end to be servicable, being a landie tech i hate having to pull 3/4 of a car appart to change the fuel pump belt , so im making sure with minimal fuss and tools i can pull the seat and tail off and have full access to the lot.
so access to to wat gear you talking about mate ??
most of bike has been done in shed at home.
Lathe, mig, tig would be high on my shopping list
ahh ok
most of the work i did on the lathe can be done in vise etc with a drill and hold ur tounge to the left lol
my mig at home is a gas/gasless unit from repco cost $400 on sale 4 yrs ago.
thats why i done the spot welds at home then took to work to use better mig.
well its glass time to make the seat pan sooo here we go .
after following milders mask from the UK on facebook fo a widdle while and seeing how he has done a seat mould ive followed his and redmoehawk from ASF on prep work to do my own seat pan.
after getting all the needed bits n pces i have obtained the following
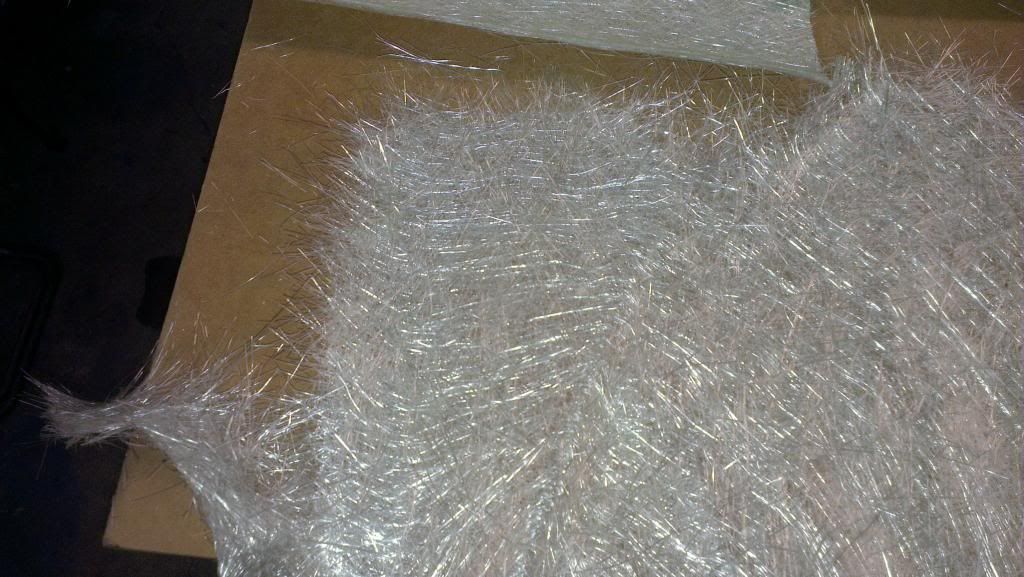
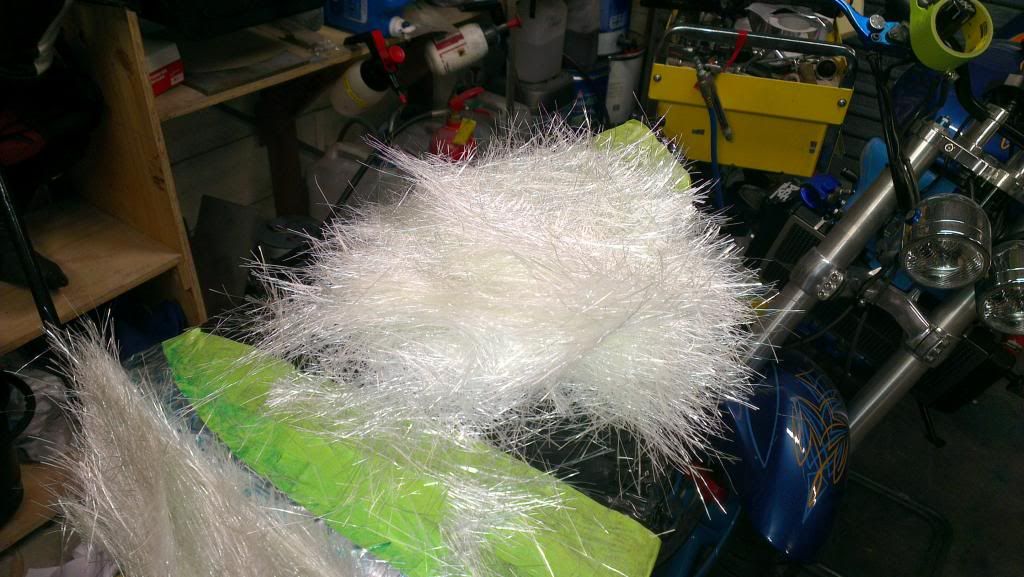
1 roll of thick fibreglass matt
1 2lt jug o poly resin
4lt acetone "for cleaning"
1 roll of green masking tape "designed for staying on paint work for up 2 ten days "
1 roll of alloy tape from CAT used to wrap parts and also used in the refidgeration industry
1 500ml blue PVA
7 1 inch wide brushs
catalyst for resin
2 tubes or bags of paper coffee cups "thanks work hehehe
god knows how many paddle pop sticks"once again thanks work lol"
1 roller for removing air bubbles
1 box o black nitrile wurth gloves
and formost plenty of CANADIAN CLUB N DRY
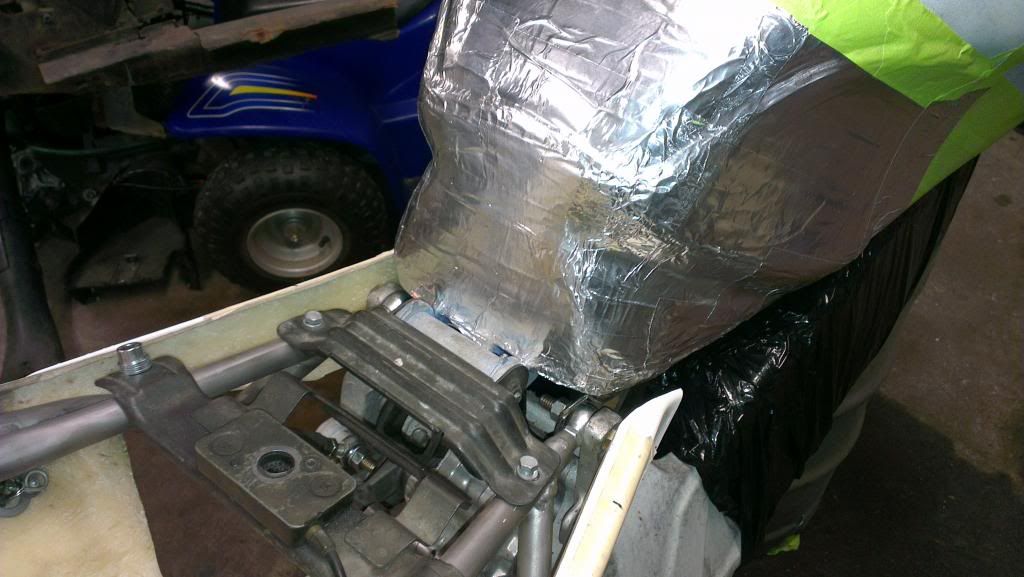
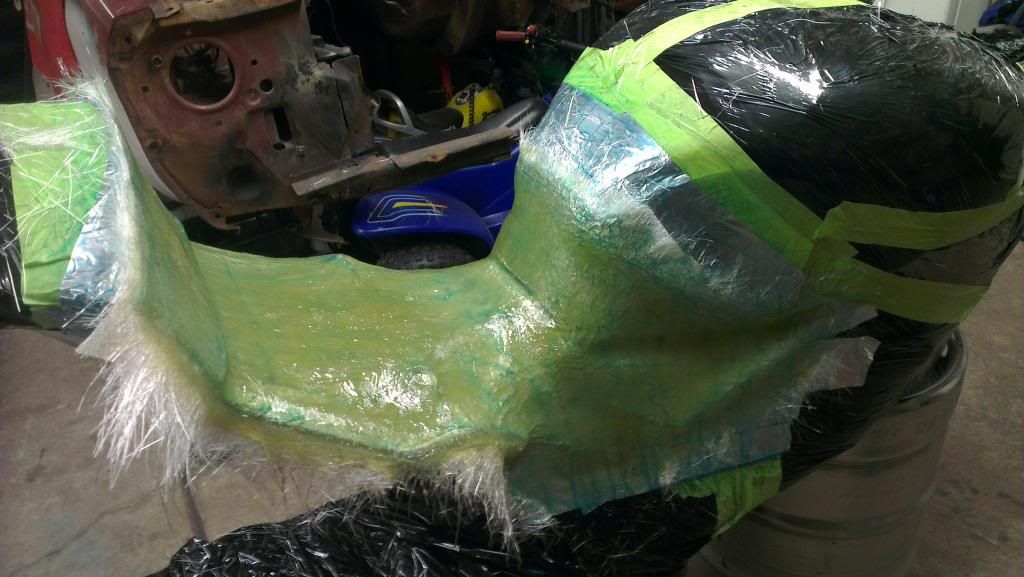
as i dont want the resin to bugger the frame "even tho its a spare one" ive wraped it in black packing wrap "self sticks like glad wrap"
and with the finished seat i want it to hug the tank and seat base snuggly and not damage the paint at the same time so im laying down green tape to the seat base and tank.
then ive got 8 mm high dence foam and spray glued to the masking tape.
on top of that i layed down more green tape then applied the layer of alloy tape.
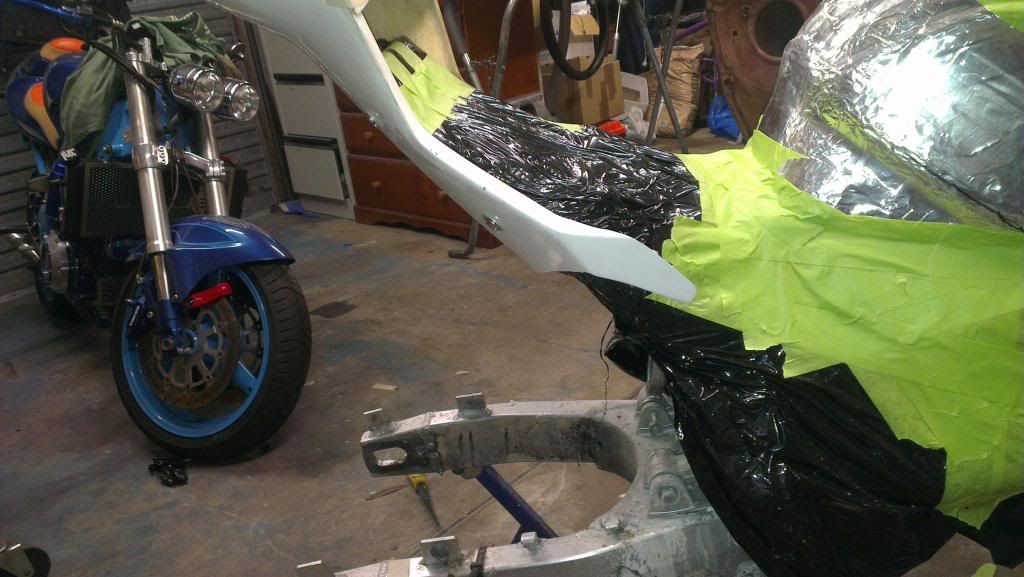
ok so at this point ive decided that i want my seat base to follow the simullar lines to the stock TLS seat and tail so it looks stock.
hmmm time to trim.
well ive got me some 25mm thick polyurathane foam "resin resisntant" sands soooo bloody great aswell.
time to fill in the areas i want raised so the glass and plastic etc dont sag
now in these pics ive decided i hate the gap between tank and the frame,looks like ol mr SUZUKI had a hang over and decided "ah no-one will notice"!:doh:
so i used the 25mm foam to infill said gap and wrap it up and in the end pics you will see why .

noice! u home tomorrow old boy?
Rev the fucker!!!!!
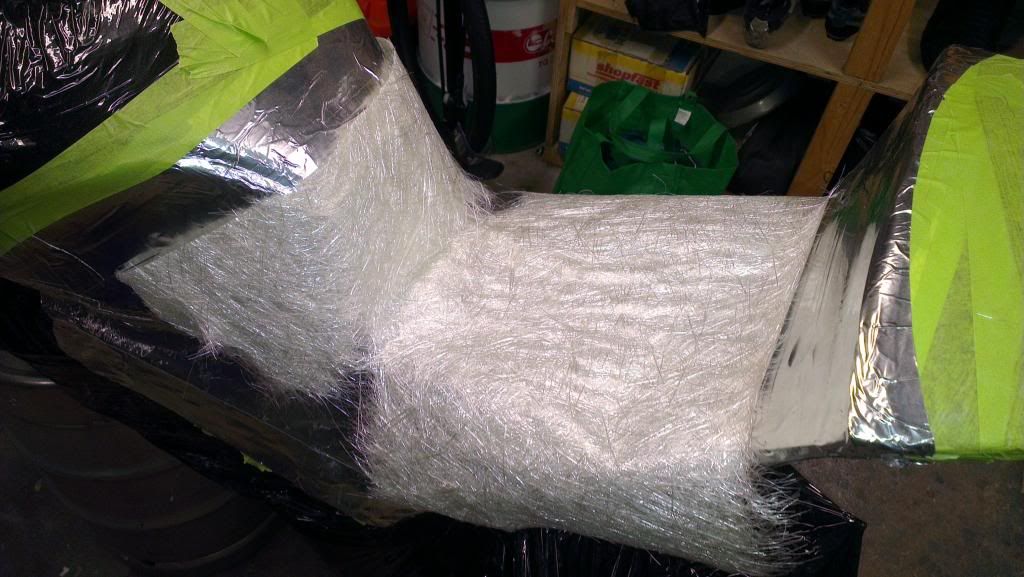
FOR THE FIRST LAY UP IVE PRE CUT A STRAND O MATT AND THEN CUT UP ENOUGH MATT THEN SO IT HAS STRENGTH YOU HAVE TO CHOP IT UP OR TEAR THE ENDS SO TO SPEAK SO THAT WAY WHEN YOU LAY THE GLASS YOU JUST OVER LAP CHOPPED ENDS AND IT BLENDS IN "IF YOU CUT AND LAY IT INTRODUCES A WEEK JOINT AND LOOKS UGLY.
IVE ALSO PREPED A LOT OF OFF CUTS TO ADD TO SMALL AREAS IF NEEDED.
WAX ON
WAX OFF
WAX ON
WAX OFF
REPEAT 5 MORE TIMES AND BUFF INBETWEEN COATS OF WAX!!
I THEN FILLED MY SMALL HVLP GUN WITH BLUE PVA AND SPRAYED A FEW COATS ON AND LEFT TO DRY OVER NIGHT.
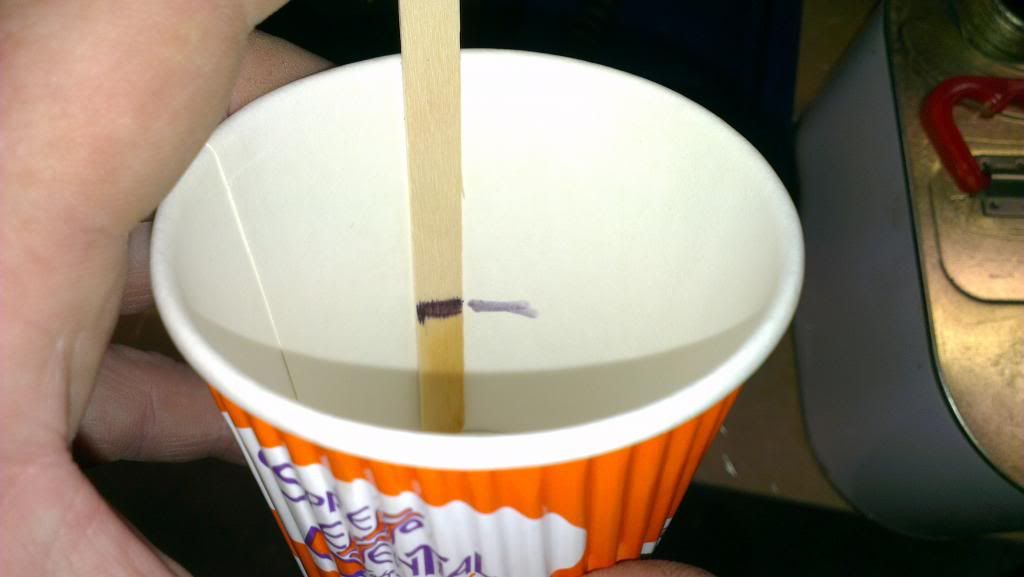
back a few yrs ago when i used to do air conditioning work i got my elf a decent set of digi scales used for gas work,now i use them for anything ,even weighing up engine parts when ballencing or blueprinting!!
these steps i found that as the resin gets mixed by quanity not weight i decided to use the scale for muliple mixing!!
first step weigh cup
then pour a unit of water into cup of 100ml
mark in cup level and same on a paddle pop stick.
then transfer level mark into several cups
pour in poly resin to mark and set asside
i tried to measure the catalyst but as it is 2% mixing ratio
for 100ml i needed 2 ml of catalyst and didnt register on scale ????
well as i have kids and they always get crook we have endless supply of measure cups and syriges as low as 1 ml graduations , so no brainer i poured in syringe but so messy so i enptyed catalist into a seperate cup and used syringe to draw up 2ml and apply to each cup as needed.
mix mix mix very throughly and apply .
Your not just a pretty face are you Al.
yup mate sharon is working so im home with the billy lidsOriginally Posted by fimpBIKES

yeh mate !!
im a damm good root too !! lol
its the first time in the build i feel im finally turning her into a STREETFIGHTER .
between doing fibreglassing at high school in darwin and making a cannoooooo from scratch
working in a few pannell shops
talking to adam and milders masks and kevie i am damm happy with the effort of the seat !!
looking forward to spending the day with kev when he can get a day off so we can apply foam and shape to me then cover in skippy skin!!
Last edited by ALBI; 01-06-2013 at 11:35 PM. Reason: forgot some shit !!
http://www.youtube.com/watch?v=IiGzbLXX-jU
just a little something to watch
forget this one worked out how to upload lol
Last edited by ALBI; 02-06-2013 at 12:10 AM.
laying first layer of glass matt
ok so seat base is done ,just letting it semi dry so i can trim excess crap off then let it dry!!
Thats looking great Al ill drop mine around next week so you can do mine. So is payment Canadian clubs?
lol cheers dan no mate canadian cougars hmmmmm so livly opps hehehehe
well this is were im up to , i now need to locate an old TLS seat so i can drill out the lock pin and fit to seat pan , make an hook assey for the lower section in pan so it hooks under the tank mount as the factory one does , then bolt it all up to EL-DUECE and take to big kev in sydney for foam and covering in roo skin.
 Posting Permissions

 Reply With Quote


