Nope , any oil that drains into the turbo after shut down will just gravity drain out into the sump, so no catch can needed. When I get home, I'll post a few pictures of my old setup if you like.


Nope , any oil that drains into the turbo after shut down will just gravity drain out into the sump, so no catch can needed. When I get home, I'll post a few pictures of my old setup if you like.

yup yup would be awesome Jack!
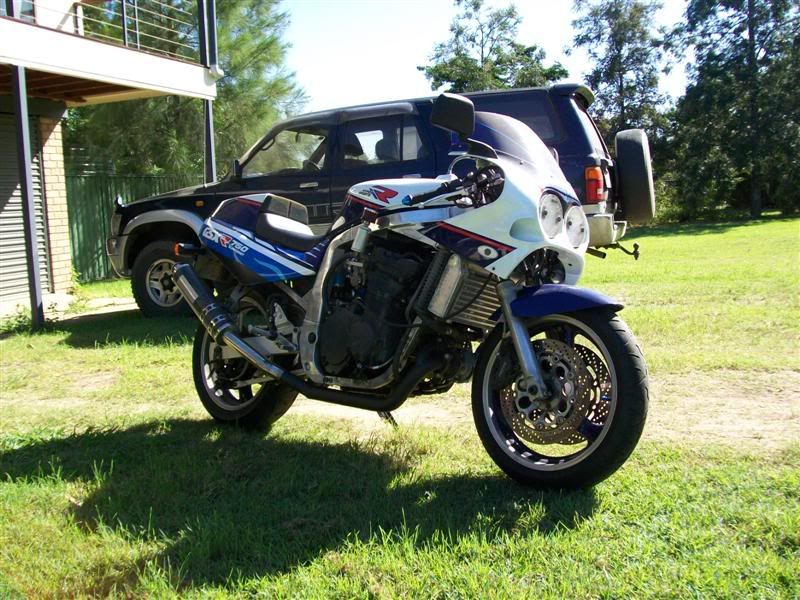
Ok, i dont have many pics actually but here you go.
And in this one , if you strike a line forward from the oil sight glass to the turbo parallel with the ground you can see how close all the levels were.
bahaha so ive had YOUR pic! i mean the 1st one. the sump is absolutely different to mine but the upper print is the same. i cut mine to make it like yours but i'd have taken yours because mine has the oil cooler bungs located right after the filter therefore i can't use an outboard filter, at least i still can't figure out how to do it, the bloody bungs are on the way
Right oh, its been a bloody long time people, not helped by Microsoft!! Old laptop was XP which worked great but ended up getting completely unusable so know have new (to me) bigger better faster laptop which still has a serial port for tuning the bike. Taken a little while to transfer all my files over, get all my short cuts again, remember all those annoying passwords etc, but i am finally there so business can resume finally.
So, have been busy with work and reno's and weddings (not mine, i have already done that) so have had limited time, but as i last posted in may, i do have some progress to show.
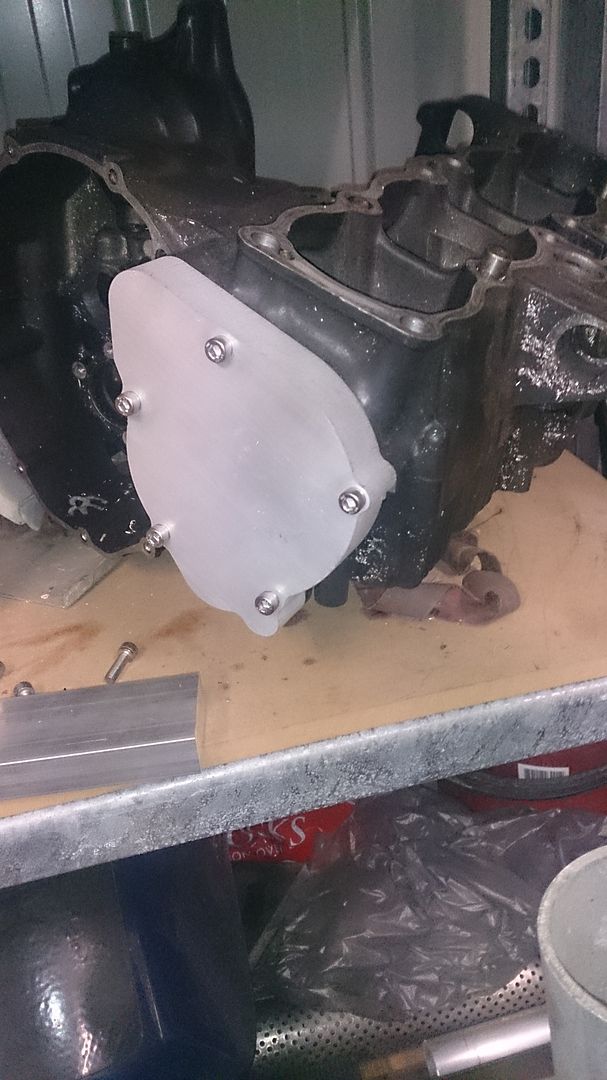
No1 being a bespoke super CNC machined ignition cover, fuck yeah!!!!
Mmmmm no not really but had a little go at making one anyway, so here it is
Bit of CAD drawing and i had 2 Waterjet cut 25mm thick alloy blanks
pretty good finnish. a bit like very fine oxy
Got them to just centre mark the holes so took one blank and drilled it out and tried it on my spare cases
Then chucked in the Shun Shin for some lathe action
First open out the inside recess
Then spun around and did the outside
Then used my crappy mill slide setup and my one and only 25mm endmill to make the final clearance for for the oil pressure switch
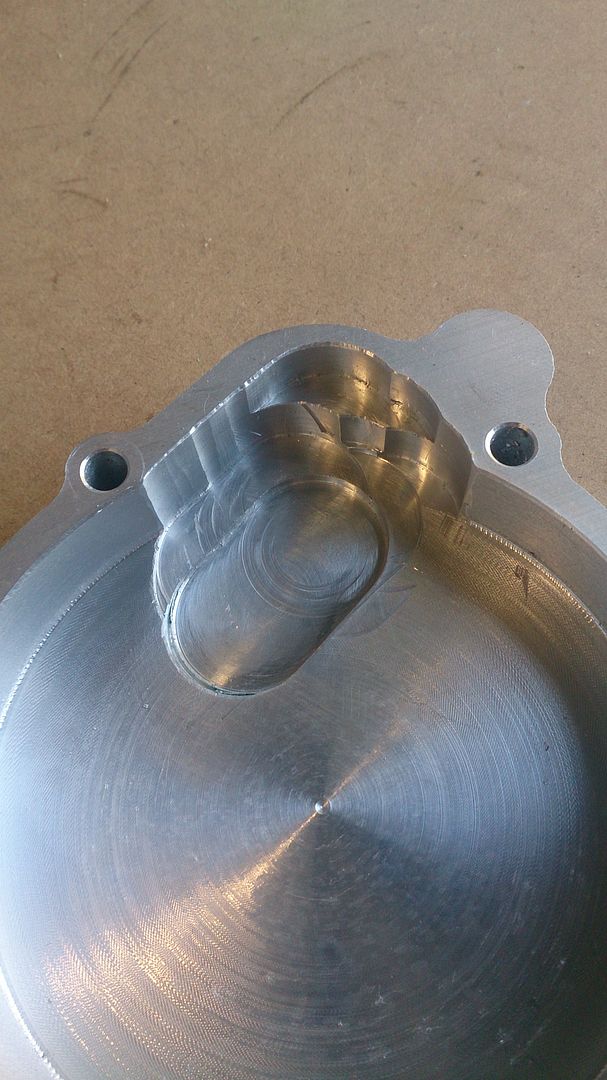
I have to stress that i couldnt really see what i was doing when milling as the cover was so close to the lathe chuck hence why its a bit choppy choppy.
Anyway, this then alloed me to bolt it on the engine like so
Much coolness
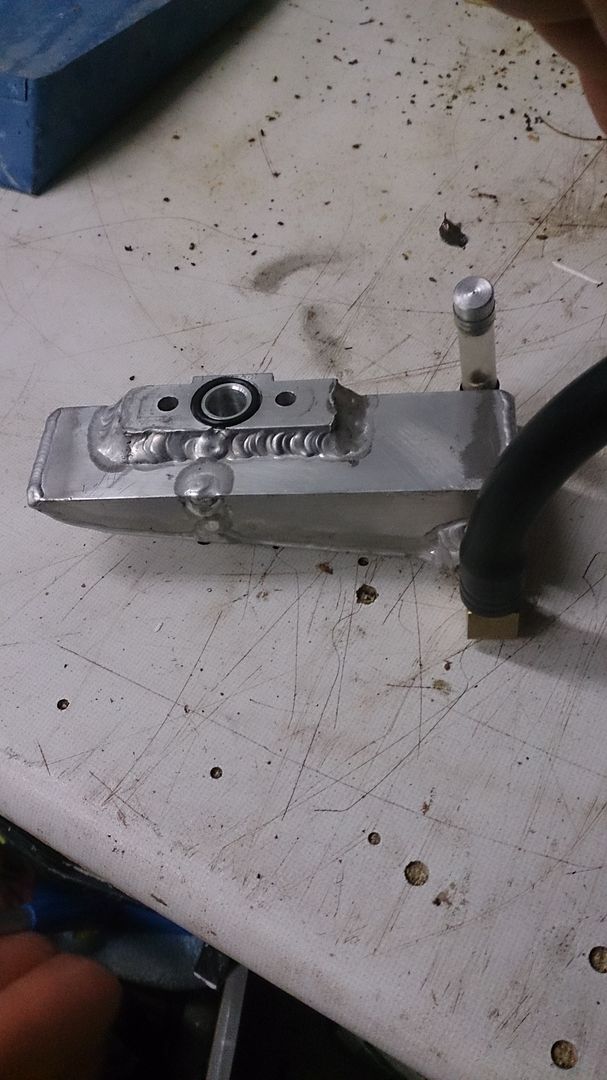
Next job was make a new sump for the turbo, the old one was a bit on the small side, had a restrictive pick up position and was always weeping abit where it joined onto the turbo.
So wanted to make a new one with an O ring seal and a solid block drilled through to clamp it on rather than a fabricated system like i had before, so here we go, more pictures
In this one you can see the baffle i put in just in front of the drain hole, so it fill with oil while stationary but hopefully shouldnt surge forward under braking etc. and you can see the cross drilled alloy block with the drain hole
And i ran a cross drilled drain hole at the back with 1/4" BSPT threads in each side so i have options in the future for pumping out of either side but i also wanted to incorporate a site tube with a breather which i figured would also double as an overflow hole, so just incase it trys to fill the turbo with oil, know it should start dripping out the breather hole in the top of the site tube before it starts filling the exhaust. See how it all pans out i suppose but go to be better than what i had.
As stated much coolness
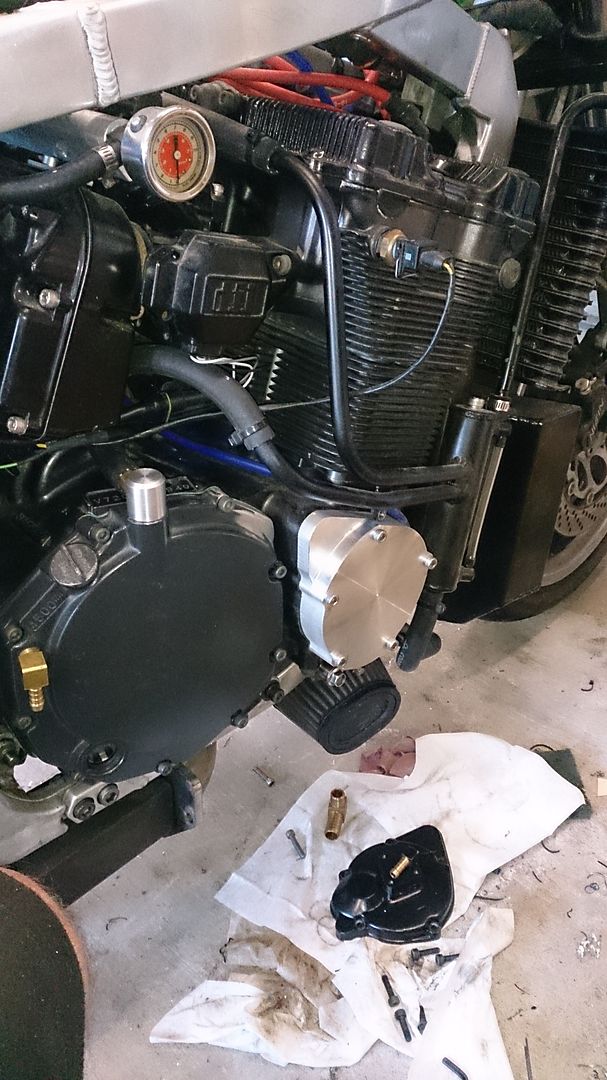
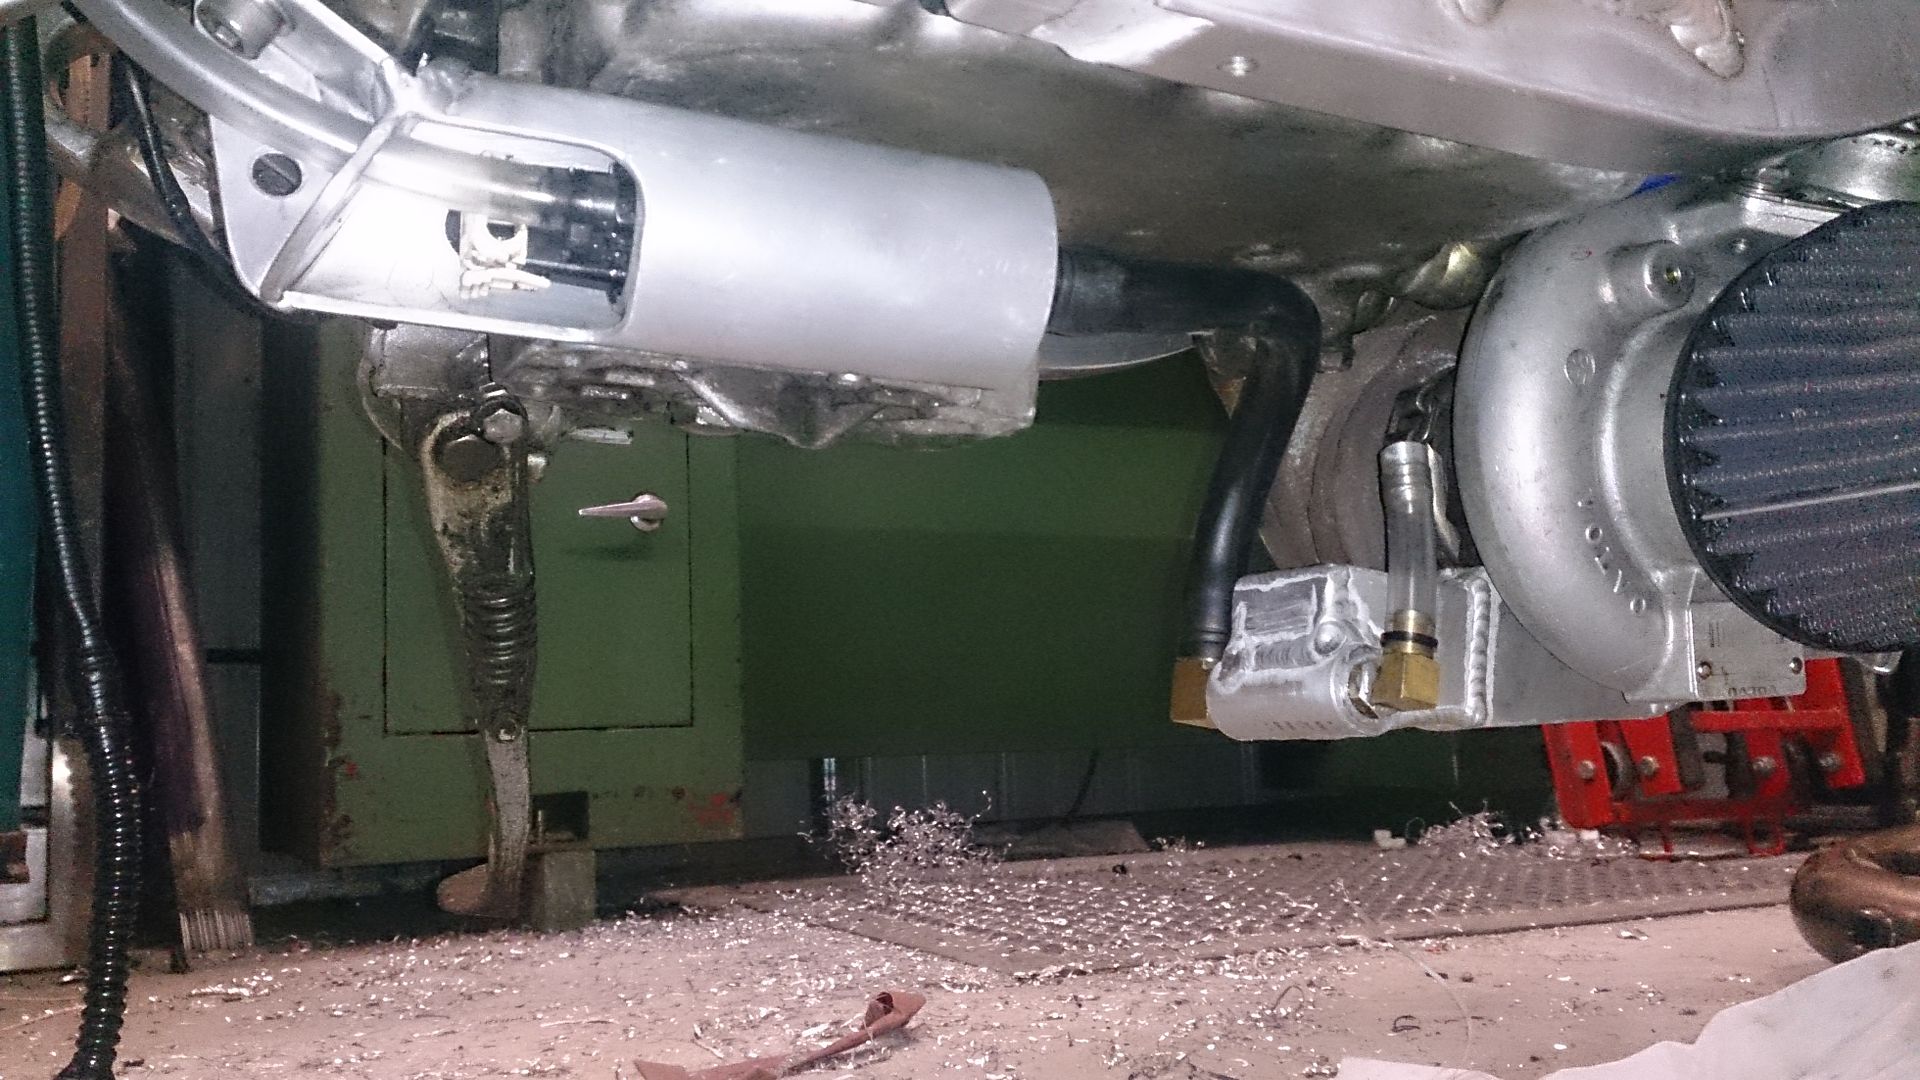
Next, i am still not happy with either of the mechanical scavange pumps i made (and having used my 2 ignition covers to make them, this is one reason i made my own cover haha), so decided to stick with the VDO pump for one last fling. Did some testing and it seems to pump really well and was able to suck oil up a metre of 10mm pipe vertically in about 3 seconds so has plenty of suction as well. So, my old setup had the VDO pump mounted on the turbo sump, but i wanted it more tucked up out the way so made a new mount for it to go with the new sump.
so found a bit of pipe that nearly fitted the pump with some old silicone around it for a cushioned grip, so threw that in the Shun Shin and opened it out so the pump and rubber suround slid in.then cut varoius slots and holes for the wires and pipes and welded on a bit of rod that was drilled and tapped to make a pinch bolt. Then made some plates to bolt onto the centre stand mounts on the slingy frame and drilled some holes in it all for looks.
And then how it all looks together
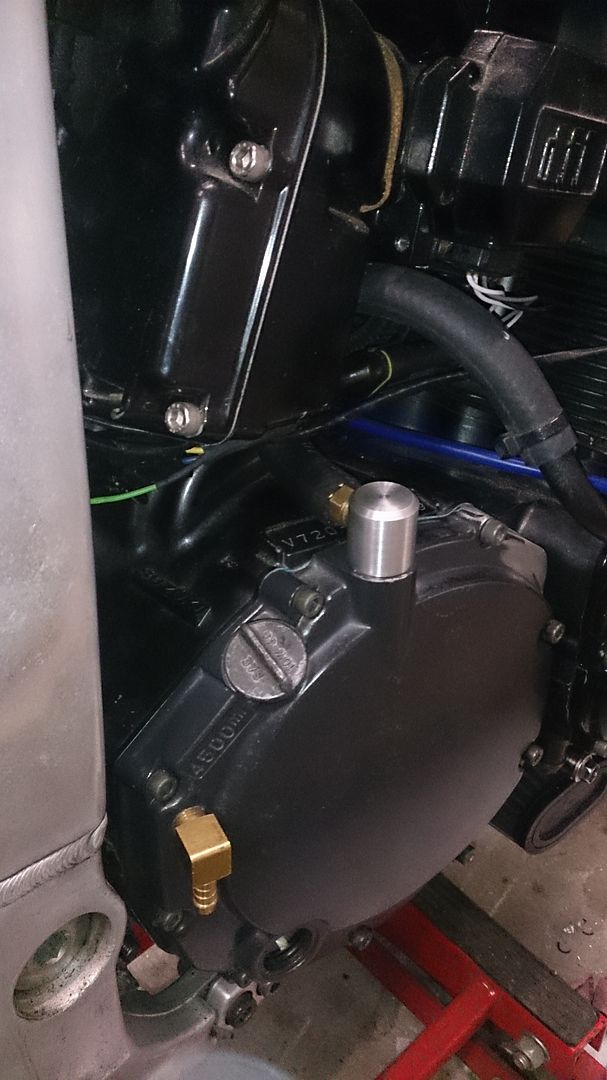
Oh yeah, and nearly forgot, i needed to get the oil back into the engine, and as i already had my old 750 clutch cover with a fitting in it i decided to see if it could be made to fit the bandit engine.....and yes it can . so just punch out the clutch lifting mech, use the grinder and flapper wheel to remove the lump in the middle of the cover and flatten back the internal ribs untill you have clearance over the clutch basket and grind off and clean up the clutch cable bracket. Done, Then you also have a nice point to use as a breather.
So, cover ground out
Fitted
Then make a breather fitting
Its a good tight fit in the cover with the o-ring around it
And i have been gathering parts to replace my fucked forks, so i have some
GSXR750M tripples so they should bolt straight in to the frame,
07 ZX10R fork legs as they bolt into the tripples and are 10mm longer than my existing forks so at least i wont loose any precious ground clearance
95 ZX600F wheel as its spindle matches the width of the M tripples and the diameter of the ZX10 axle holes and has a mechanical speedo drive which i want
13 ZX6 Nissin monoblock radial calipers
Nissin radial master cylinder
And hopefully some 320mm zx9 discs from the very generous Haggar. Bloody Top bloke he is
So just need to find a suitable muddy that i like, make some disc and caliper spacers and some new headlight mounts and we should be in buissiness

Cheers Mate, didnt see you post, was too busy linking pictures and stuff hahaOriginally Posted by ozzy1100

All good, most people have no idea just how much and how hard to get right some of this work is
awesome reading as usual Jack, luv watchin you're tryin one way then another one and then all over again, i aint that kind of a perfectionist at all but your options could be very helpful at need
Sick, nice cover.... I reckon it would look even better if you C/B the cap screws so they are nice and flush.

Fuck me, you two (3 if you include Surt) are upping the ante on the shed built custom parts front around here!
Wouldn't call it being a perfectionist Surt. I try to keep my fabrication tidy and functional but always seems to come out a bit agricultural really. And just doing things over to get something that might actually work haha
Thanks, yeah had thought about countersunk fasteners. Might do that ;-)
 Posting Permissions

 Reply With Quote


