Page 1 of 2 12 LastLast
Results 1 to 20 of 27

Thread: KH125 A1 1977

  1. #1

    KH125 A1 1977

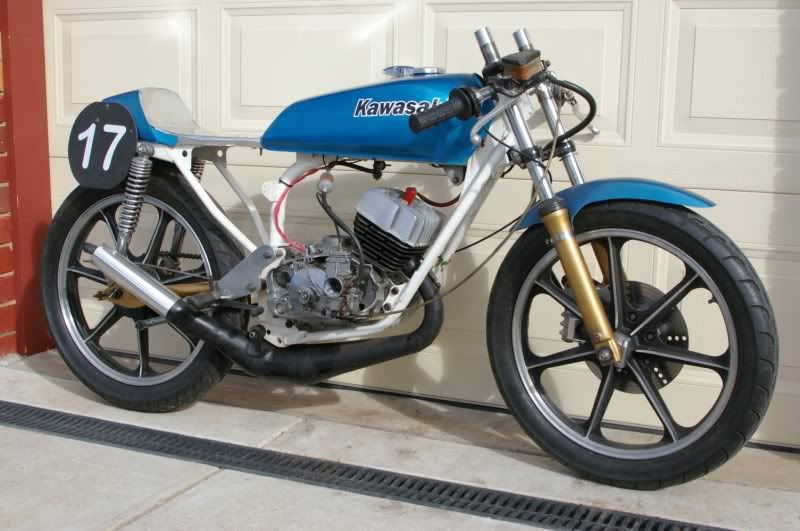
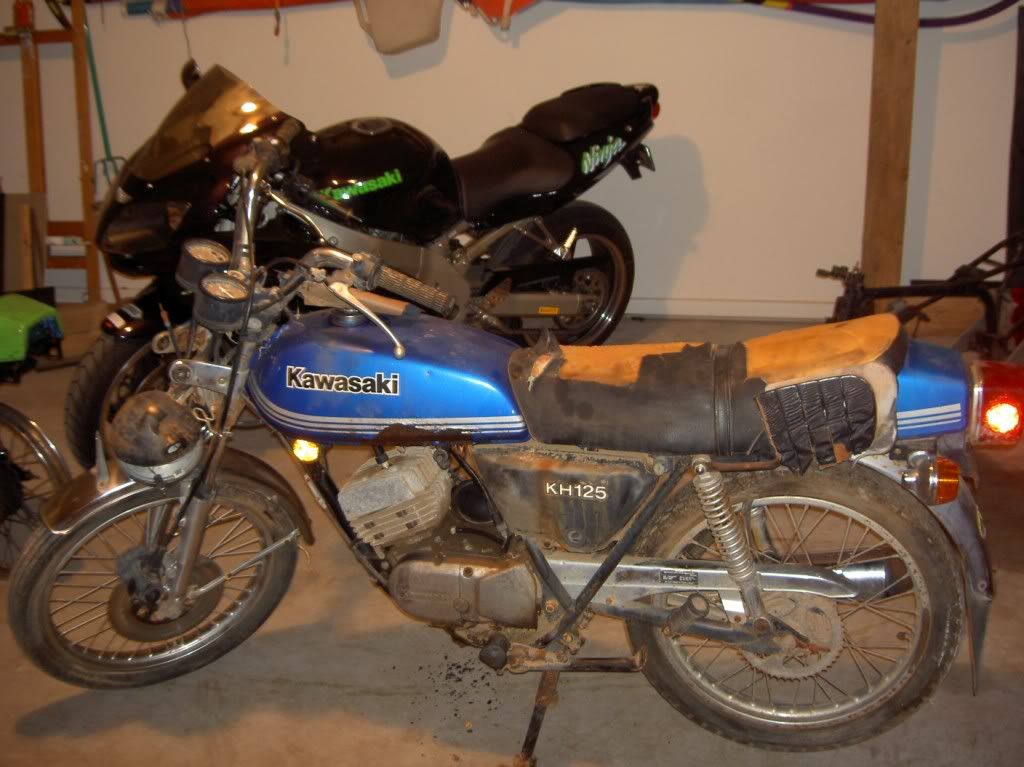
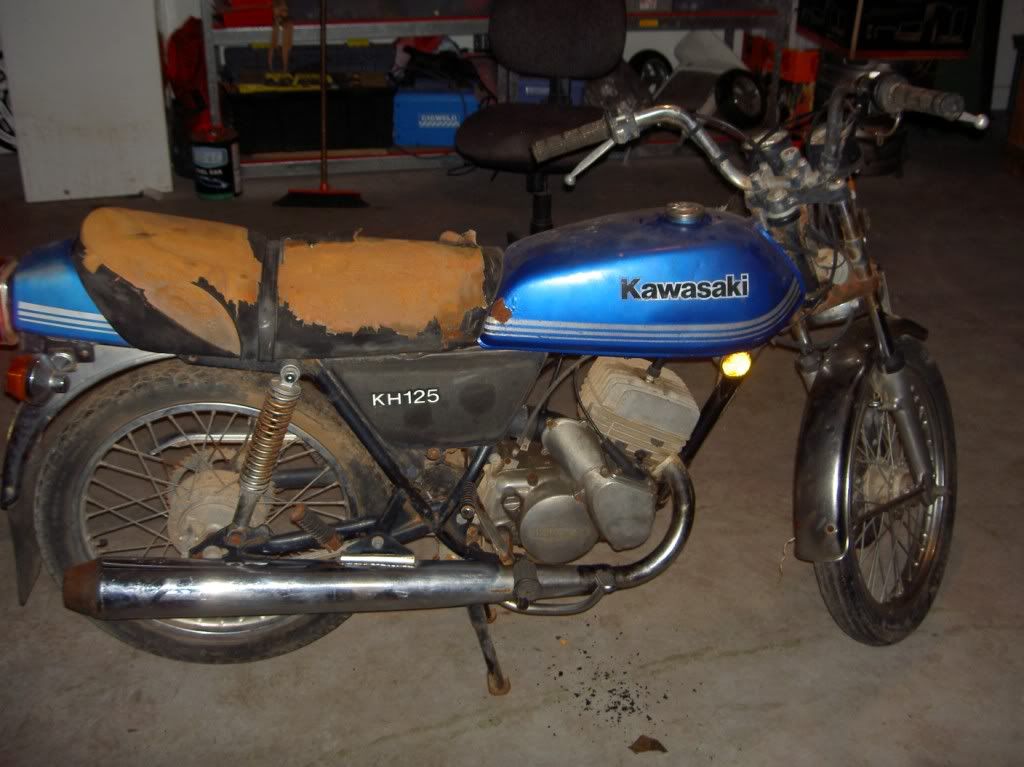
    KH125 A1 1977. Has been a long on going project. After not doing anything with it for nearly 2 years I've decided it is time to go.
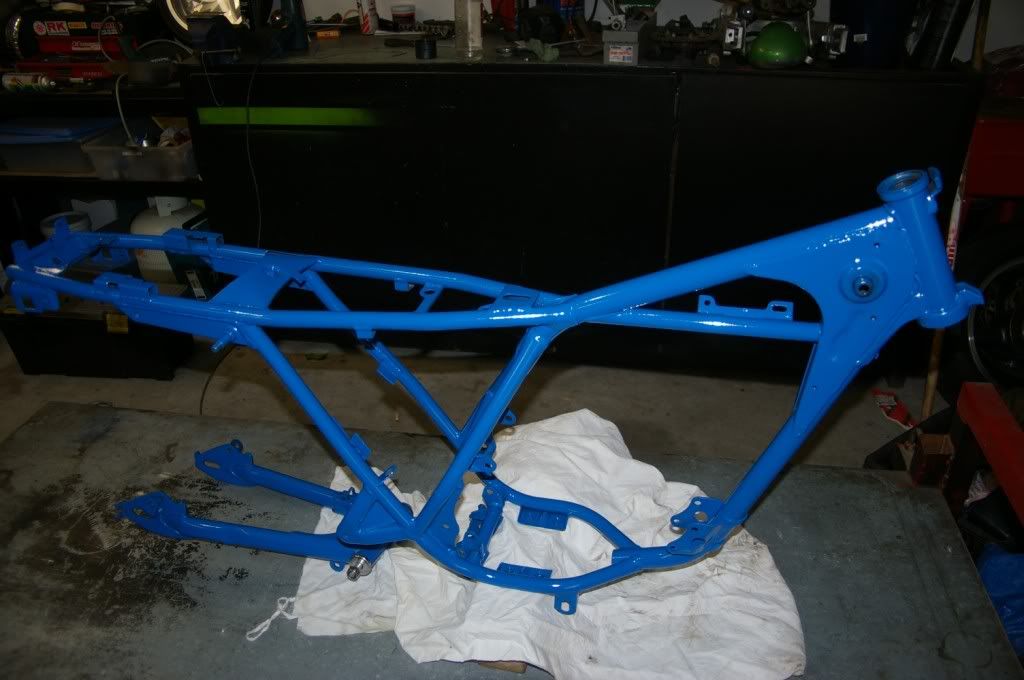
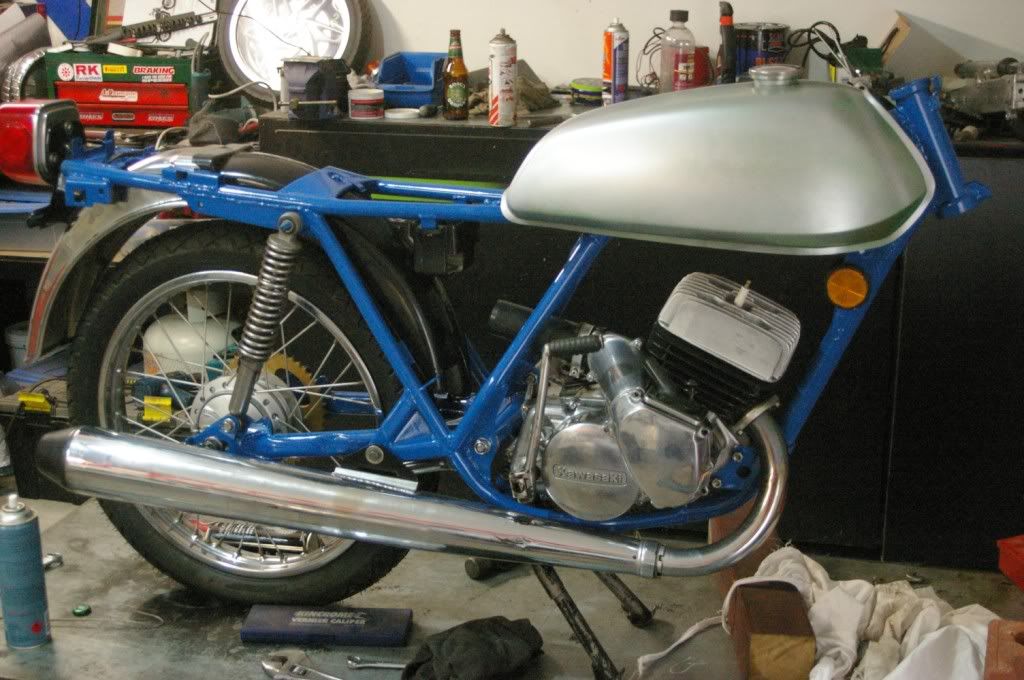
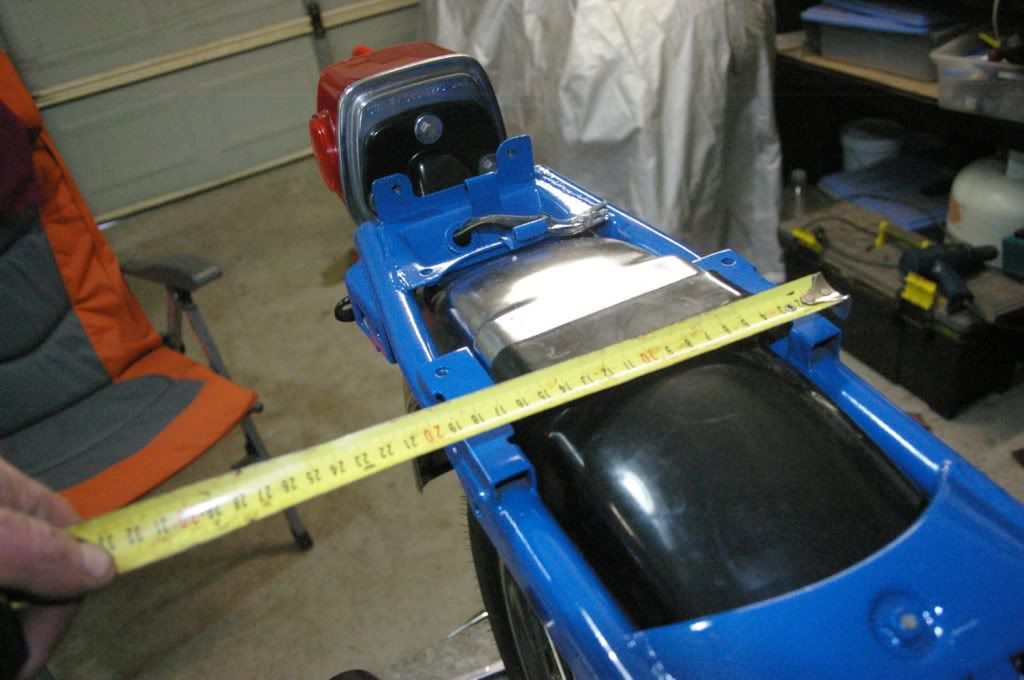
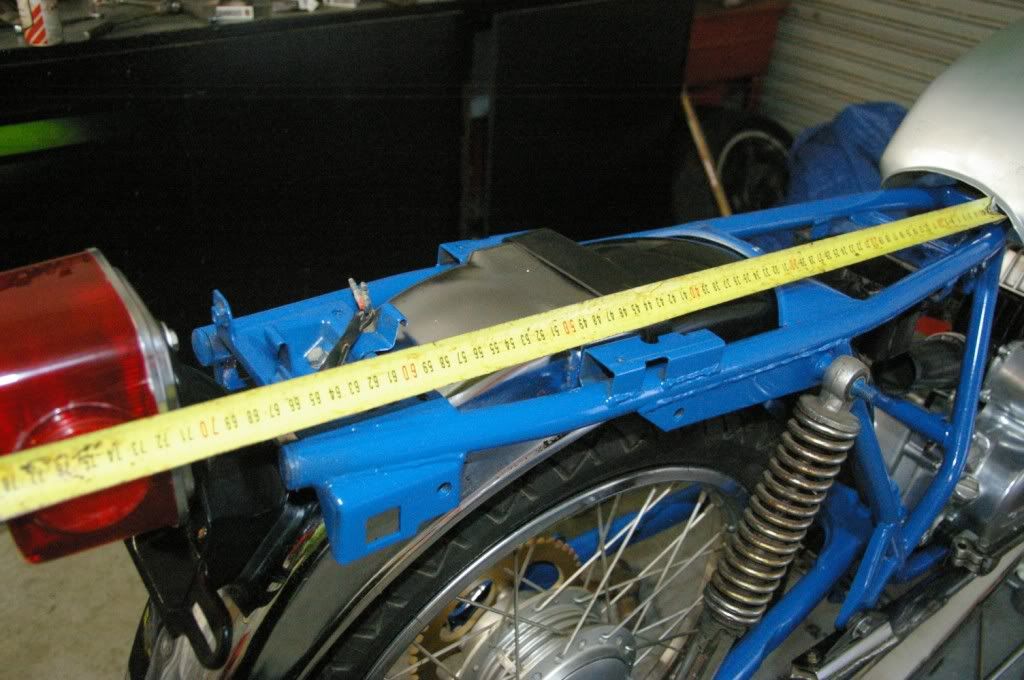
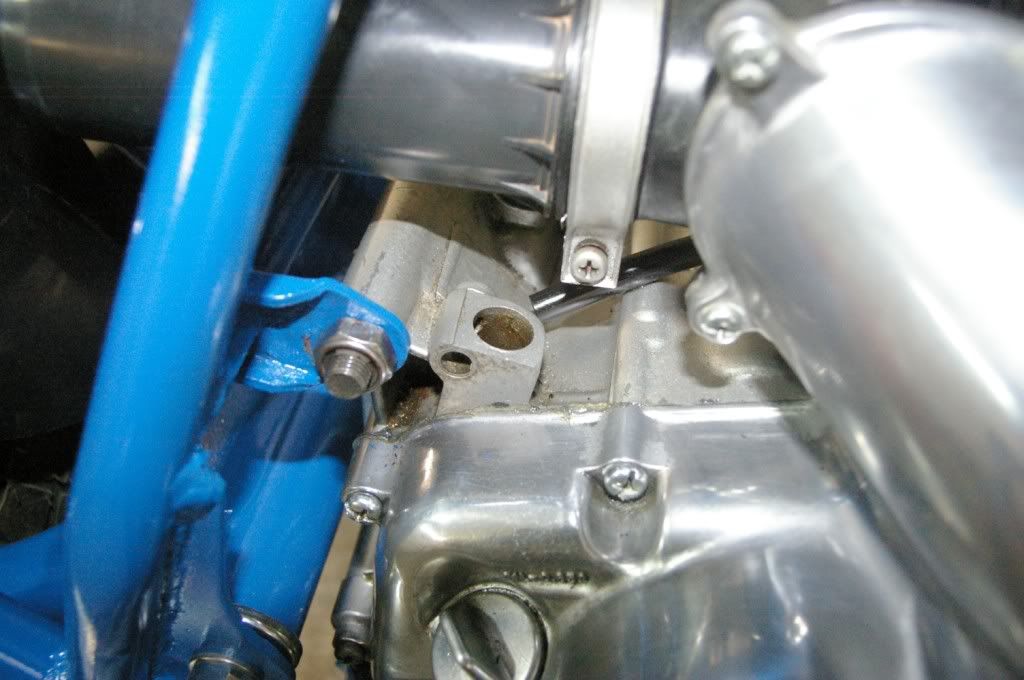
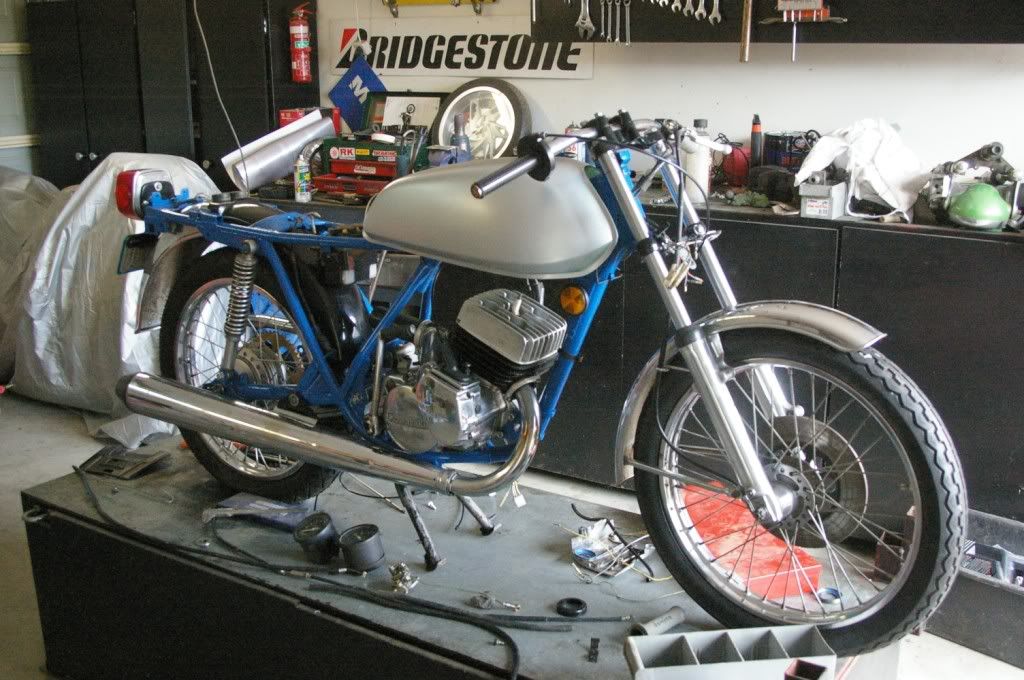
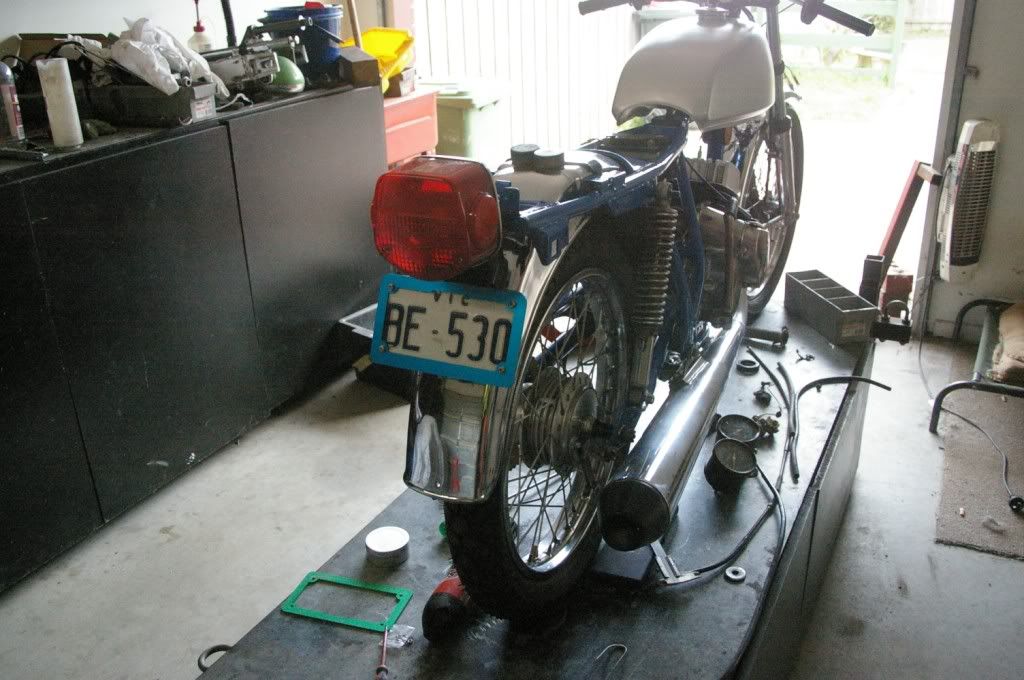
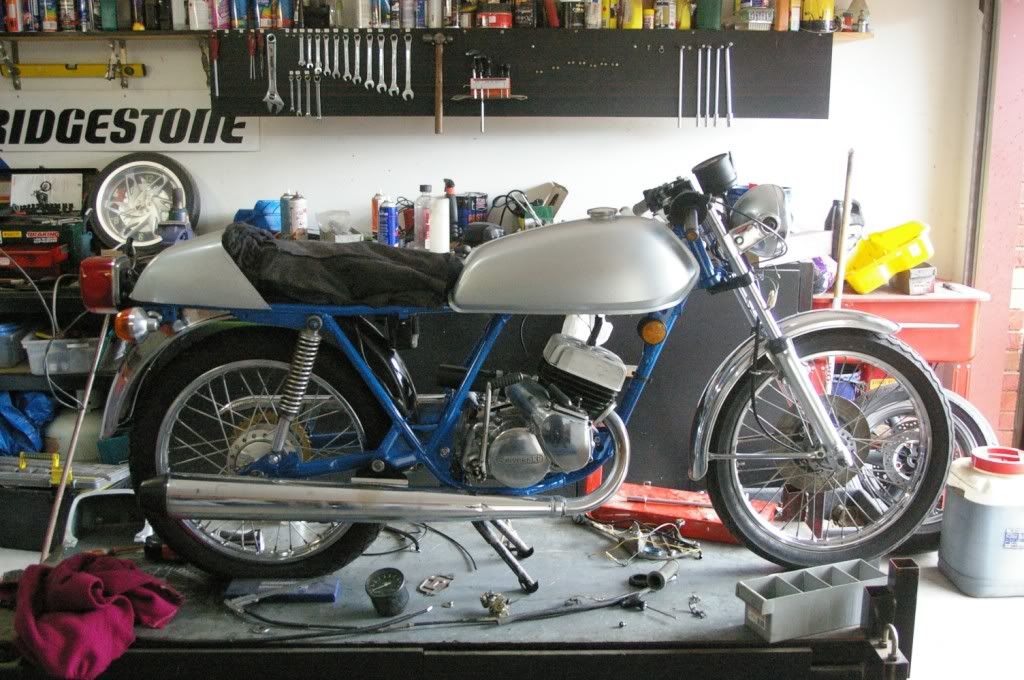
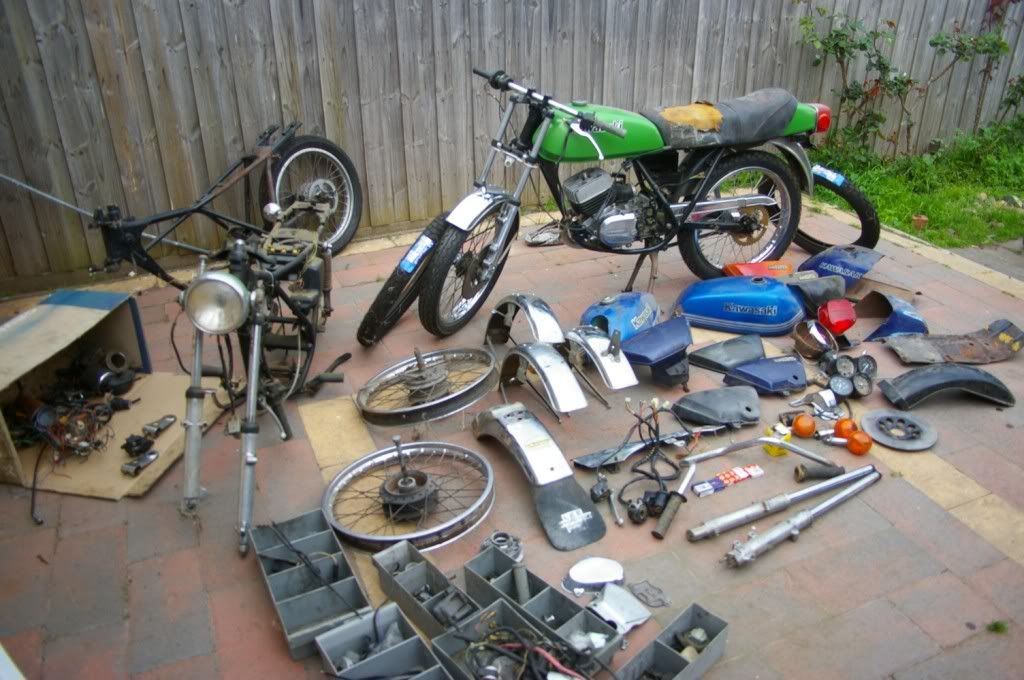
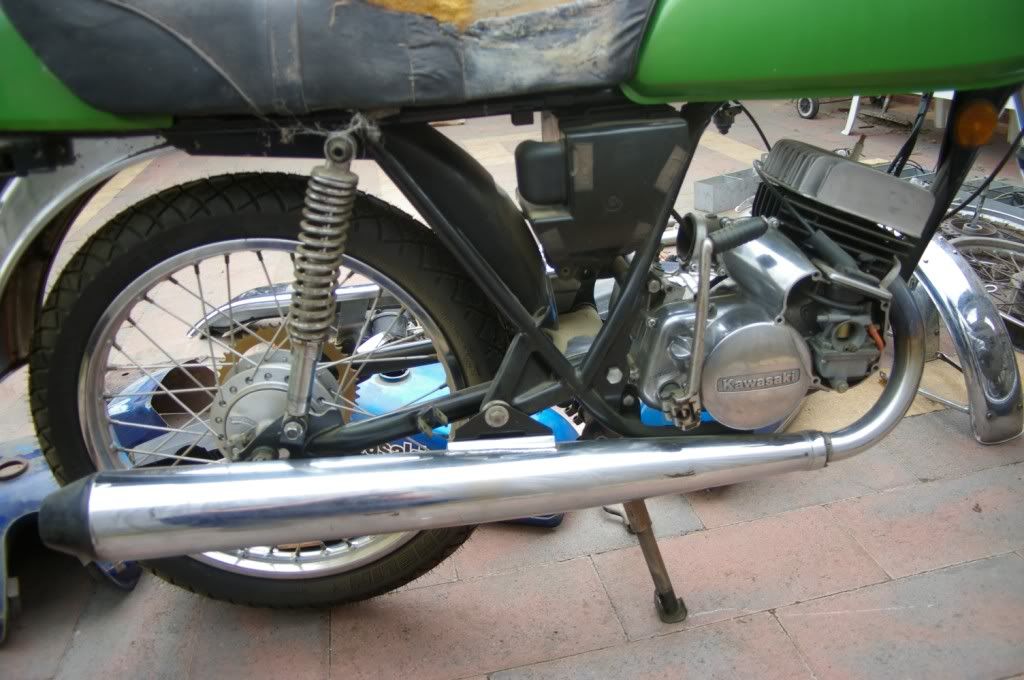
    As can be seen from the pictures there are ALOT of original parts along with some new items like tyres and bearings.
    The complete bike is a mock up to ensure I had all the bits and pieces and have collected all of the better bits together.
    The engine is absolutely mint and runs well. The odometer that came with that engine shows only 7.5k kms from new.
    To complete this project there are 3 things required. A seat pan if it is to be kept original or fabricate your own. An original front calliper or modify one to suit. A gear lever. Aside from that it is all there except consumable items like tyre tubes, chain, fork seals, cables etc.
    I will not separate any of it and it must go as a job lot. It is probably the single largest collection of KH125 parts in OZ. Use the best bits to complete the job and flog off the rest.
    Please also note that the KH125 was a stand alone model and not just a bored out 100. NOTHING is interchangeable between the 125 and the 100. Bear in mind also that there were very few 125's ever brought into Australia and secondhand parts are hard to come by. Surprisingly though some new parts are still available through Kawasaki Australia
    I have a price in mind but will entertain sensible offers. Will also consider a trade.
    Located in Sunbury Vic


    Photobucket album http://s368.photobucket.com/albums/oo12 ... or%20sale/

    Any questions please ask.
    Adrian
    0488 443 101

  2. #2
    Going. Going. Gone.
    Cheers for looking.

  3. #3
    Tyre destroying, mad bastard menace
    Join Date
    Aug 2008
    Location
    Ballarat, Victoria, Australia
    Posts
    1,457
    How much did ya end up getting mate? If ya dont mind my asking?

  4. #4
    A shit load of grief...Truth.
    Cant bear to part with it and the missus said "you should finish it" Given that she is always right its back up on the bench and aiming for a lightweight cafe smoker in the same style of my KH100 buckets.
    Should look something like this with lights and shit. But better.


    I give up on the faithful restoration and would rather create an object d art. Its close to having everything required, just going to take time. Hopefully not another 8 years LOL.

  5. #5
    Power Hungry, Law Disregarder
    Join Date
    Jan 2006
    Location
    , Vic, .
    Posts
    914
    Good idea mate.. Will be a ripper!!

  6. #6
    Project is go!
    Frame, stripped, de-lugged and painted. Tank rubbed back for new colour tomorrow.
    New bearings, seals, chain and sprocket in the mail. New shocks also on the way.
    Kev worded up on seat.
    125 smoker Cafe on the road by Christmas.
    Will be a rolling bike with engine in by Monday. Pics coming.
    Mods should probably move this thread or I'll start another one?

  7. #7
    Started the day with this...


    Ended with a few frothies at this


    If your following along Pete then it looks like this


    Postman didn't deliver bearings and seals for the front end so over the weekend I will dismantle the forks ready for oil and seals, remove the 2t pump and blank it off, rub back the tank again because I rushed the paint and so I stopped after 1 coat.
    Found a seat pan on the bay and waiting to hear back on postage costs but Kev I took some pics with tape in hand. Let me know if yours might suit - either way you get the job of upholstery.


    Keeping the guards, lights and reflectors in place until registration. Then it will be a free for all with the grinder.

  8. #8
    Got 2 things maybe others can help with.

    1. Since I have deleted the airbox I want a pod filter in place. The problem is that the exit from the plenum chamber is pointed straight at a crossmember in the frame and so I need a piece of pipe with a 50mm OD and about 5-10 degree bend to clear it in order for the filter to fit. See below. The missus stockings are the next best thing but a properly fitted pod would be nice.


    2. I need a plug for the Tacho cable...only going to run the speedo so if anybody with access to a lathe needs some beer money I'll send you a drawing


  9. #9
    ASF Premium Full Member LKC73's Avatar
    Join Date
    Nov 2007
    Location
    Sydney, NSW, Australia.
    Posts
    1,507
    Really like the frame colour. Should look great when your done.
    Monster GSXR 7/11 RIP!
    Raven R1 Demon.
    K7 750 German Style (under construction)

  10. #10
    ASF Advertiser kev@vcm's Avatar
    Join Date
    Dec 2009
    Location
    sydney, NSW, Australia.
    Posts
    1,751
    Blog Entries
    1
    have to agree with luke love the frame colour mate well done

  11. #11
    Bugger google its easier to ask you lot.
    Mikuni universal single pull cable where can I get one?
    Kawasaki sticker in the same vain as the H1R. The round one on the tail. Where would you get one like that?


  12. #12
    Bloke with a smaller stick BANDITROD's Avatar
    Join Date
    Apr 2007
    Location
    Your Mums Vagina
    Posts
    14,664
    Looking good mate

    Glenn Eason drinks and smokes and lends his arse to other blokes

  13. #13
    Todays effort


    Found a set of fork seals I forgot I had so rebuilt them and chopped and changed legs and springs. One set of forks came from a racing 125 in the PCRA so has much stiffer springs. Added 20w fork oil 155ml for those that find this via google. Bright shiny and better than new.
    New wheel bearings fitted.
    Started routing cables and wiring. Also found a universal cable amongst the bits left over from KH100 buckets so cut that to length and attached it to the 1/8th turn Domino throttle that was acquired so long ago.
    Made plans for a bracket to centrally mount the speedo since I dont want to run a tacho - when it runs out of go forward I'll change up LOL.
    Waiting on bits - Calliper, chain and sprockets, head stem bearings, rear shocks.

    Found Uni filter pod filters with a 30 deg bend that will go straight onto the plastic pipe coming out of the plenum chamber so have ordered one of them. Have asked if I can get it in blue as red and green doesn't suit the asthetics. http://www.uniflow.com.au/contents/en-us/d14.html

    Found some dodgy Kawasaki stickers on the bay. They are a resin type and will sit proud of the surface. http://www.ebay.com.au/itm/Set-4-BLU...item336b8826d1 I would really like some of those period stickers like on the H1R to put either side of the tank.
    Had another go at the paint today but failed again...there must be wax or sumfink that keeps fucking it up - it keeps crazing. Using Powerplus from a can but thats what I used in the beginning when I painted it green. Have wet rubbed it twice with 360grit. Will have another shot tomorrow and take it all the way back to metal and bog. I spent a whole weekend panel beating, filling and sanding that tank many years ago to get it back into shape and now its pissing me off that I cant just add a new colour to it.
    Once I manage to get it all metalic silver then a blue GT stipe will go down the centre.

  14. #14
    Looking at this seat unit on ebay http://www.ebay.com.au/itm/Set-4-BLU...item336b8826d1
    Still waiting to hear on postage - they came back with a Fedex quote of $176 US! Using the USPS calculator I got $48US

    Kev if your watching do any of your suppliers pans fit the dimensions from above?

  15. #15
    for shits and giggles I fitted up a number plate with one of the thousand anodised frames I had made around the time I started this project. Looks good in the flesh but doesnt photograph well with the lighting in the garage.

  16. #16
    Power Hungry, Law Disregarder
    Join Date
    Oct 2009
    Location
    Confusion
    Posts
    671
    Looking good mate

  17. #17
    Cant seem to find a suitable cafe racer seat for cheap so I have revived the idea I had long ago to use the back end of another tank. I cut it out several years ago but put it in the too hard basket. I reckon it looks the shiznit so I am now going to find a way of making it work. Watched youtubes this morning on laying up a fibre glass seat pan and with a bit of patience I should be able to do it. I'll also weld on some tabs so that the glass and the metal can be joined as one.
    Job for next week. Just shaped up some rags to get an idea of the seat shape......Had to show someone. Have only got the dog to talk to in the garage and he really isnt that interested LOL


  18. #18
    Bloke with a smaller stick BANDITROD's Avatar
    Join Date
    Apr 2007
    Location
    Your Mums Vagina
    Posts
    14,664
    Looking good aido

    Glenn Eason drinks and smokes and lends his arse to other blokes

  19. #19
    Found some original pics from when it first arrived.
    Note the rust on the floor beneath it.


    Started to sort out the wiring this afternoon....cant find a diagram anywhere and its going to be a bit challenging since I am deleting the ignition barrel. Its a cranky old 6 volt system too. Does anyone know if its possible to delete the charging system and just run total loss off the lighting circuit? Or is the battery there to provide DC current?


  20. #20
    Found a diagram.


Page 1 of 2 12 LastLast

Posting Permissions

  • You may not post new threads
  • You may not post replies
  • You may not post attachments
  • You may not edit your posts
  •