Page 3 of 10 FirstFirst 12345 ... LastLast
Results 41 to 60 of 186

Thread: Project Budget Turbo Dragqueen

  1. #41
    Weekend Warrior
    Join Date
    May 2010
    Location
    Isle Of Harris, Scotland, United Kingdom.
    Posts
    304
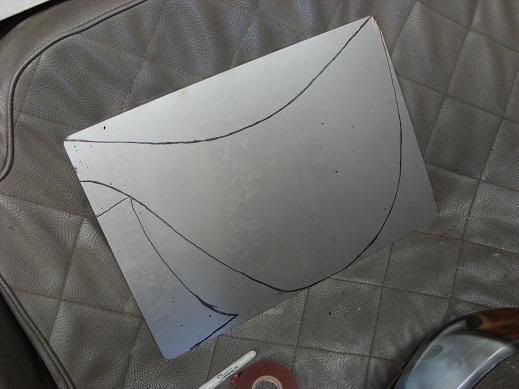
    Wee bitty this afternoon. Cracked out some scrap cardboard n tape again. Came up with these little curved plates to tie side scoops back to frame so don’t look so separate from rest.:-


    Flattened out scoop onto biggest sheets of scrap steel I had and couldn’t believe it when they fitted plates exactly to edges!:-


    You couldn’t make that shit up. Lol. Exact size on 4 sides of sheet! Weird.

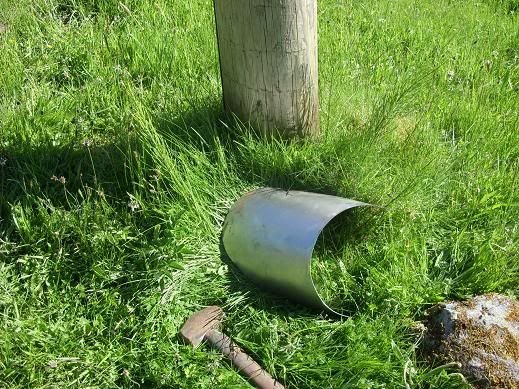
    Chopped out bits with angle grinder, smoothed them off with flap disc then formed the curve round a telephone pole right outside my garage door. Lol:-


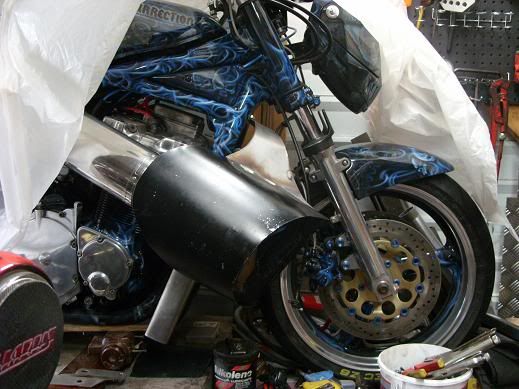
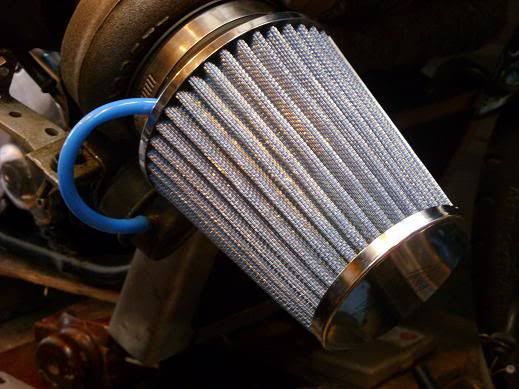
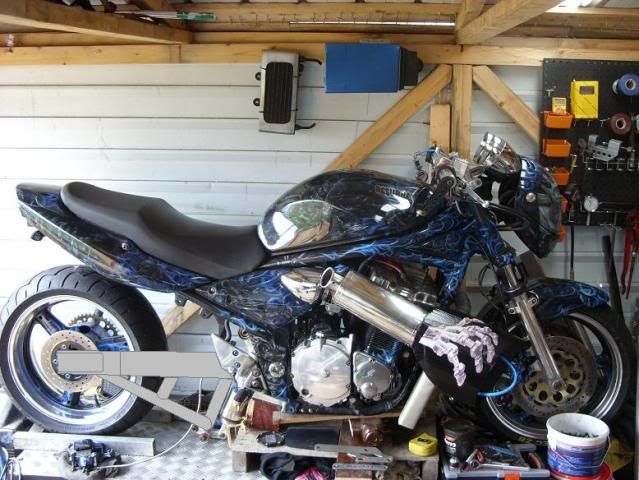
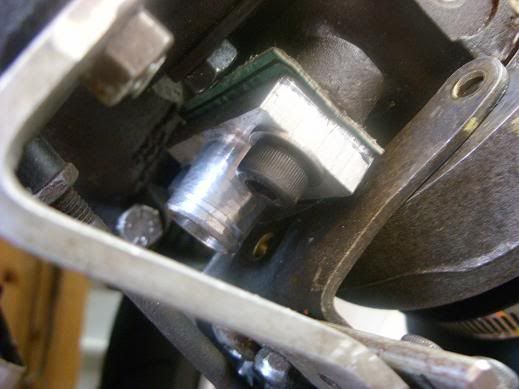
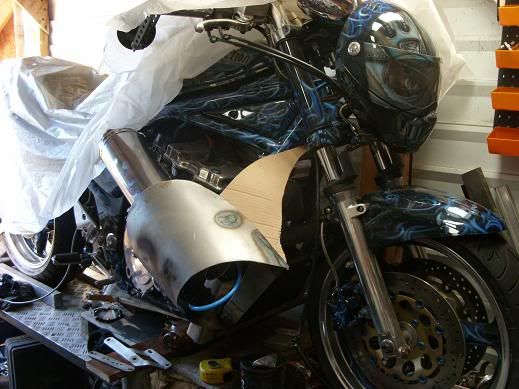
    I then welded on some tabs on inside to mount to any handy tabs, etc. Solid as hell once bolted up. Good 1”+ clearance from turbo housing too so hopefully keep temps down with airflow through scoops:-


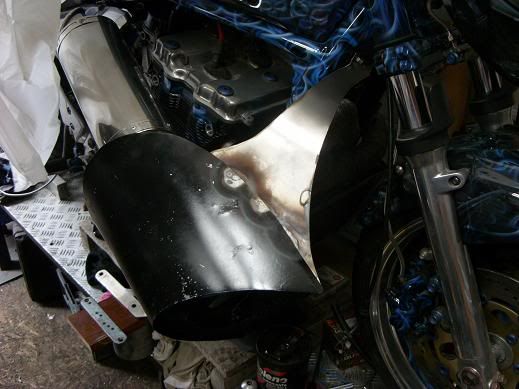
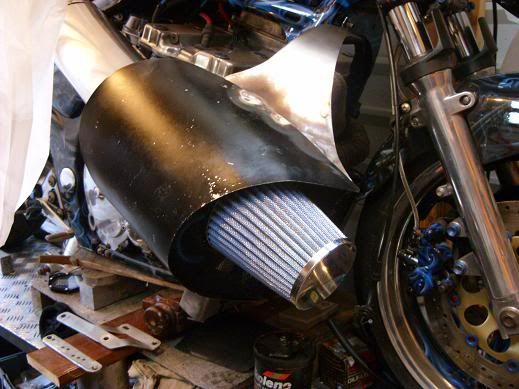
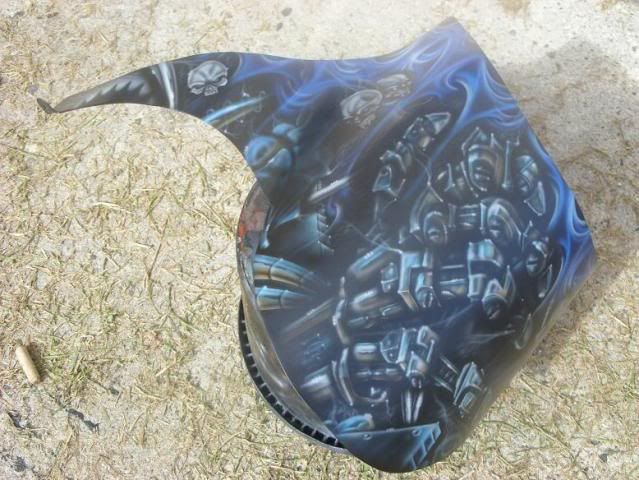
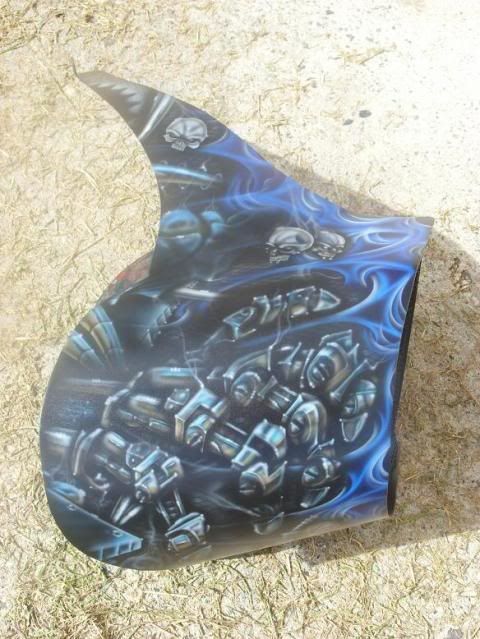
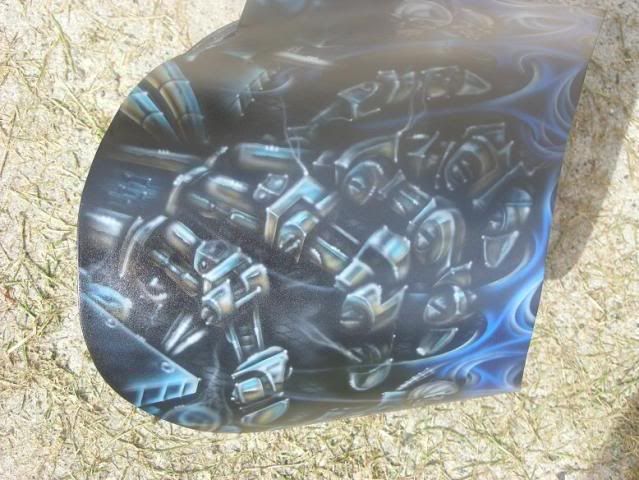
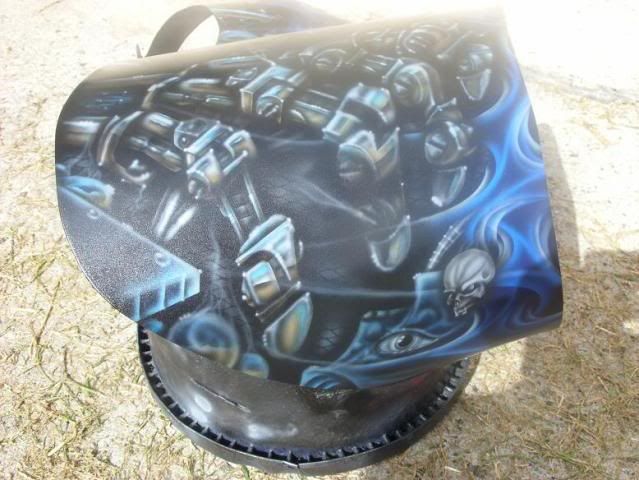
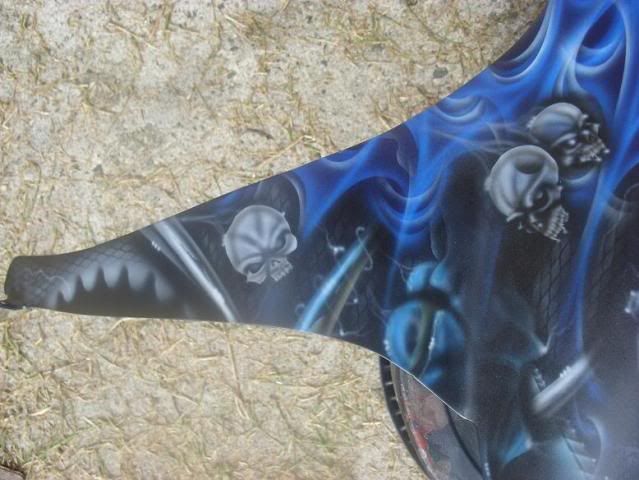
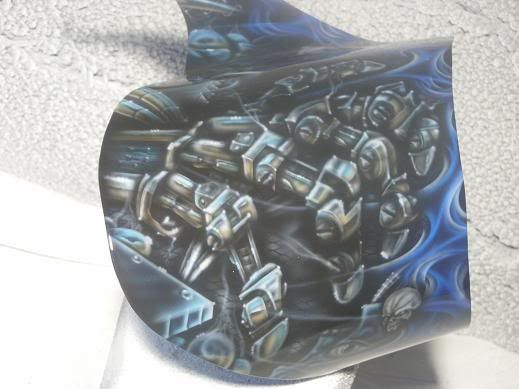
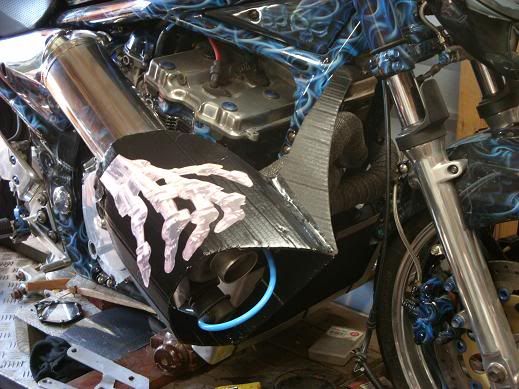
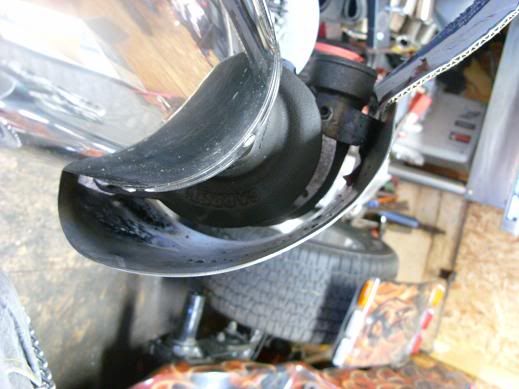
    Exact copy of cardboard scoop so looks and sits exactly the same.:-


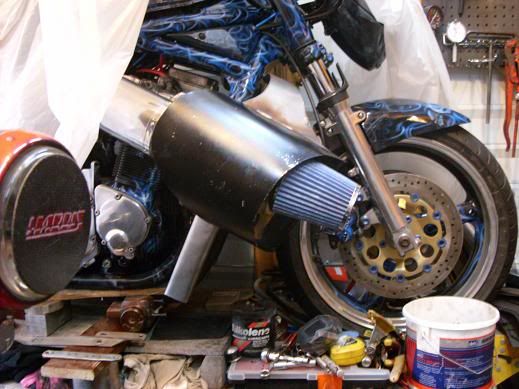
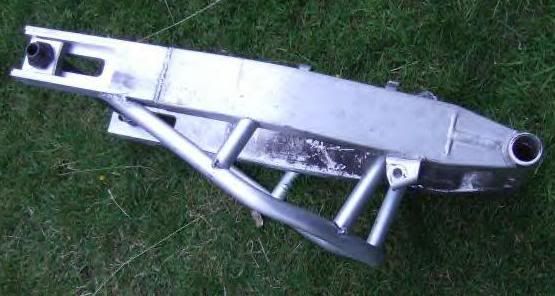
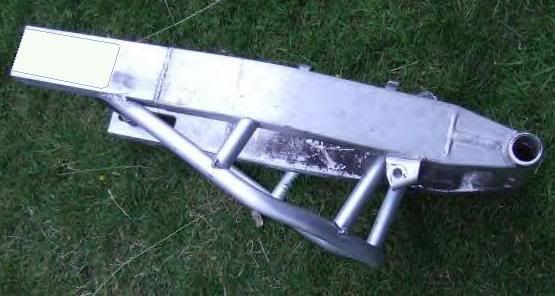
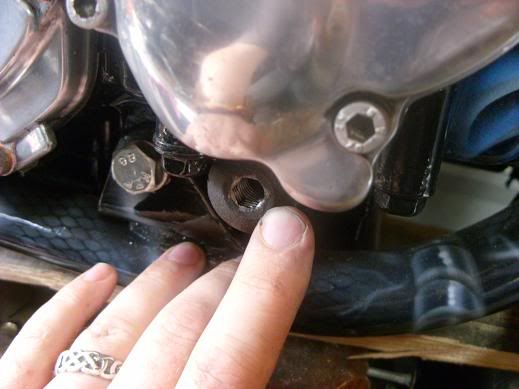
    Just need to play about with cardboard template in picture then cut that out n tack onto back so welds hidden. Other end will bolt onto old oil cooler bolt under headstock.

    Also came across another old scrap fireguard so that’s my mesh sorted for scoop fronts. Gotta be free! Lol.

  2. #42
    Tyre destroying, mad bastard menace
    Join Date
    Mar 2007
    Location
    RUTHERFORD NSW
    Posts
    2,788
    hmmm nice build mate just read in streetfighters mag no"195" aswell !
    dont know about the position of turbo outlet tho??
    would it be better if you laid the hairdryer flat so inlet was level with raod and you could then use "dare i say it " a screaming eagle cone airfilter" and have the exhuast outlet come out at 55 deg give or take down past engine cover with a balownie cut facing out at 45 deg to the rear or run it along the frame to the muff you have !!
    only a sugestion mate !

  3. #43
    Weekend Warrior
    Join Date
    May 2010
    Location
    Isle Of Harris, Scotland, United Kingdom.
    Posts
    304
    Well not a shitload to report as up to eyeballs in paintwork so bandits taking back row for now. In middle of bodywork for a rather cool trick framed GSX1400 fighter you`ll be seeing in streetfighters mag soon Im sure. Really full on bike and paint and deffo worthy of centrespread which would be nice coverage for me. Meant to be 2 weeks airbrushing but having to do it all this week (stoooopid long hours!) as next week is ridiculous!

    Kept it quiet as wasn’t 100% on it as pics/emails flying back n forth last few days n stuff needing approval by set directors/film directors, copyright clauses, etc, etc, etc. They paid n booked today tho. Got to do 5 matching skull n flame lids for a Bollywood bike action movie (apparently a first) being shot in London. 1 for main lead, 1 for his double, and 3 for the stunt riders! Only catch……….. all 5 helmets need to be done next week, from scratch to out the door! Do 2 lids a week normally and Im busy. Must be mad taking on 5 in a week, but they waved the cash, and what an opportunity tbh. Thought it was a wind-up by mates, but nope turned out to be genuine. Wont be sleeping next week at all I think, but chunk of cash towards bills n a good opportunity.

    Don’t expect much to be done on bike in next week or so. Lol. Imagine I`ll be working 20 hours a day next week to get em done in time, but needs must n all that. I`ll be Mr. Grumpy by next weekend tho. Lol.

    Heres where Im up to for now tho. Side scoop made and extention peice up to headstock. All brackets done n bolts in place fine clearing forks on full steering lock, etc. Some mesh added with a hole in it ready for air filter peeking through. Got trim organized n sitting ready for when airbrushed, etc, just getting time for it is gonna have to wait. Lol:-


    £21 on egay inc. P&P got me both this nice filter (blue one in pic). Its about 180mm high inc clamp neck, n about 120mm wide at widest point so will peek out of scoop by bout ½ its length or so.:-


    And this turbo gasket:-


    That’s me budget up to £361GBP inc bike so far. I`ll get scoop filled/smoothed/painted/airbrushed when get some free time in evenings. As you can imagine tho that wont be next week. Those couple free hours a day will be spent sleeping/eating. lol

  4. #44
    Bloke with the stick Gix11's Avatar
    Join Date
    Jun 2003
    Location
    Gold Coast, Queensland, Australia
    Posts
    17,574
    Blog Entries
    34
    Bollywood Bike Action Movie?! Mental. I bet it's still shits over that "Biker Boyz" Bollox:

    [youtube]http://www.youtube.com/watch?v=rUVfKb_emfk[/youtube]

    Should have been called "Pole smokerz".


  5. #45
    Weekend Warrior
    Join Date
    May 2010
    Location
    Isle Of Harris, Scotland, United Kingdom.
    Posts
    304
    Torque was 10 times worse. lol

  6. #46
    Aussie Streetfighter Hooligan
    Join Date
    Feb 2006
    Location
    At home or at work or somewhere else
    Posts
    5,139
    quote:Originally posted by Jon

    Deano/Iceman. Cheers for watching my back. Checked turbo flange on plate glass and with edge of steel rule. Cant see any deflection. Gonna order up one of those crush fit gaskets anyway to be sure, but hopefully should be ok. Failing that might get a bit of brass plate n make a gasket out of that to joing 2 peices together.
    You'll want some copper gasket grease, its the shit.

    I cant wait to hear about the first time you get a flame out the exhaust

  7. #47
    Weekend Warrior
    Join Date
    May 2010
    Location
    Isle Of Harris, Scotland, United Kingdom.
    Posts
    304
    Managed to get out to garage for 15 mins at oh 9pm after downed spraying tools. Lol.

    Post came today n brought me air filter n gasket. Wanted to trial fit it before trimming n airbrushing cowl, etc, just in case. Lol.

    Actuator hose wouldn’t clear air filter so fed it into air filter through hole in rubber clamp-on adaptor plate on filter. That’s me fat finger pointing to it. :-


    Another wee hole through the rubber to get hose back out again n down to actuator. Keeps hose tidy too. :-


    Quick bolt up of everything n seems fine fitment wise. Got some blue trim for scoop leading edges around inlet for once sprayed. And some carbon fibre trim for cut-out hole for filter too. Nope didn’t buy any, just chopped along length of pneumatic hose I had for instant edge trim. Lol.

    Looks as thought tho. :-


    Well back to work, still got as few hours of sleep I can do without. Lol.

  8. #48
    Bloke with a smaller stick
    Join Date
    Feb 2005
    Location
    Melbourne, Victoria, Australia.
    Posts
    3,242
    unfortunately the actuator hose has to be mounted after the impeller. having it in the filter will do nothing and you will have no boost limit at all. you can just mount it in the up pipe but it does need a boost signal and there isn't much boost in the air filter.

    keep an eye on those cheap filters aswell. they tend to brake up and if that filter material comes apart. use quality filters like k and n and bmc etc.

  9. #49
    Weekend Warrior
    Join Date
    May 2010
    Location
    Isle Of Harris, Scotland, United Kingdom.
    Posts
    304
    Actuator getting fed from original outlet on compressor housing bud. Just routed hose through that way to get it to fit in space available.

  10. #50
    Bloke with a smaller stick
    Join Date
    Apr 2006
    Location
    Brisbane, Qld, Australia.
    Posts
    6,406
    quote:
    keep an eye on those cheap filters aswell. they tend to brake up
    I agree...had one of the cheap copies and it literally started to fall apart...bits breaking of...luckily didn't do any damage but imagine if your shiny turbo ate the gauze and mesh of the filter....ouch..
    Play safe, buy a K&N....cheaper in the long run.
    Jesus died for his own sins...NOT MINE !

  11. #51
    Bloke with a smaller stick
    Join Date
    Feb 2005
    Location
    Melbourne, Victoria, Australia.
    Posts
    3,242
    so it goes in one side and out the other?

    coudn't just put a barb in the up pipe?

  12. #52
    Weekend Warrior
    Join Date
    May 2010
    Location
    Isle Of Harris, Scotland, United Kingdom.
    Posts
    304
    quote:Originally posted by Deano

    so it goes in one side and out the other?

    coudn't just put a barb in the up pipe?
    Its the original setup bud with barb on compressor housing. Was just too close to outer diameter of inlet for filter so had to get creative with routing.

    Yeah know what you guys are saying about cheap filter, but trying to get on road cheap as poss. Iron out flaws, get it to few shows, etc.

    Once its done its job advertising my airbrushing for wee while the next stage is get hold of a 11/12 motor in exchange for paintwork, make a spacerplate and dialled cam sprockets, etc, bigger turbo, wideband A/F ratio guage, and go for 14 psi n bout 250bhp at wheel. Spend out on decent air filter then along with everything else. Reckon will take my build budget to £1000 GBP or so. Then can enjoy it myself and get it dirty.

  13. #53
    I'm conflicted on the cheap filter debate. I was told that unless you're racing and want to wash out your filters, there's no point in laying out for K&N's. One something sucking that much air though Jon (that is when you start having fun on it) I'd put a K&N one on. Got cheap pods on mine and so far, so good. Bloke in the dyno room agreed that the cheap pods are ok provided but K&Ns are a good investment.

  14. #54
    Weekend Warrior
    Join Date
    May 2010
    Location
    Isle Of Harris, Scotland, United Kingdom.
    Posts
    304
    Had a chance to do owt on bike for last few weeks. Airbrushing works through the roof! Not a bad complaint tho, just not much free time at all to do anything. Lol.

    Done 100-120 hour weeks for last few weeks so bikes been on backburner priority wise.
    Chipped away at side scoop re-shaping n filling into on smooth flowing shape. Got that prepped n basecoated a while ago, then put to one side.

    Got a few hours this afternoon free-ish so whipped it out n made a start. Still at rough sketching stage, but gives an idea of where Im heading. Hand will be finished in stylized blue/brown chrome effect like headlight fairing pics. Still need to build up the layers of pipes/wires, etc and of course the intricate background too. It’s a start tho:-


    Try squeeze in doing a half hour here n there to get it done.

    After that Im still in a standstill position really parts wise. Cant start plumbing things in and tightening parts up like turbo, or mount intercooler till get camcap bolts back so have something to bolt onto.

    Swingarm isn’t far off now tho judging by latest pic off Yantosh.:-


    Bit of adjustment n final welding to do yet, but getting there. He`s the same as me n crazy busy so doing wee bits here n there when gets time to spare at it. Flush fit covers to make for axle slots too which will look nice n smooth.

    Slow slog at mo, but moving forwards none the less.

  15. #55
    Weekend Warrior
    Join Date
    May 2010
    Location
    Isle Of Harris, Scotland, United Kingdom.
    Posts
    304
    VERY quick doodle of what I mean with side covers:-


    And shape/scale on bike. Im estimating about 3-4" of clearance on bottom brace:-


    No time for proper photoshop effort. Could do lot of airbrushing in that time n my spare times minimal.

  16. #56
    nice hand job =o)

  17. #57
    Weekend Warrior
    Join Date
    May 2010
    Location
    Isle Of Harris, Scotland, United Kingdom.
    Posts
    304
    lol

  18. #58
    Weekend Warrior
    Join Date
    May 2010
    Location
    Isle Of Harris, Scotland, United Kingdom.
    Posts
    304
    Had a quiet afternoon of prep-work today so dug out my side scoop that’s been sitting waiting for anyhting like free time to come along. Lol.

    Got the airbrushing done. Not 100% happy with it, but got another day or two till clear coat it properly along with commission helmet so can fine tune it between now n then.


    Mechanically Im still kinda stuck for something to do till swingarm finished or get camcap bolts. Hey ho, be the other way round when those bits arrive as fabrication central from there on in. Can try mocking bits up roughly I suppose, but really want to get my teeth stuck in making/fitting parts now got some spare time in evenings.

  19. #59
    Weekend Warrior
    Join Date
    May 2010
    Location
    Isle Of Harris, Scotland, United Kingdom.
    Posts
    304
    Productive afternoon here. Was clear coating some comission stuff so found myself with some time between coats to do bits.

    Scoop got thrown in with rest n cleared. :-


    Get it sanded/polished tomorrow n can mount loosely to see how looks. No point bolting up solid tho till got plumbing finished to turbo.

    On that front got bits ordered up for my oil feed from engine to turbo. Uk firms were wanting £60-80+ for adaptors and line, which is ridiculous to say the least. Sourced bits sperately on Egay from UK, USA, and Japan and came to £36 inc P&P for whole lot. Bit cheaper. Lol. All anodized alloy fittings too unlike most of UK suppliers. Shows the mark up theyre adding to prices tho!

    An4 braided hose and An4 to M10x1.5 fitting for engine from UK:-


    An4 end fittings for hose from USA:-


    M12x1.5 banjo and bolt/washers for turbo from Japan:-


    Was quite happy getting that bit sorted n on theyre way. Drilled n tapped big M16 oil pressure bolt below ignition cover on engine to M10x1.5 to suit adaptor I ordered:-


    Need to make a 2mm restricor for oil feed line once it gets here so turbo doesn’t overfeed itself n smoke like mad. Not a big job tho, just fiddly.

    Since seem to be focusing on this area for now as can make bits for it with nowt holding me back I looked at the oil drain outlet. Looked online and they were stupid money! Decided to have a go n see if I could make one myself.

    Loads of billet off-cuts kicking about off engineer mates. Picked one bout right size:-


    Drilled a couple holes for mounting to turbo. Drilled n tapped central hole for something to get a hold of in lathe. Central hole will be drilled out to oil hose hole later on. :-


    Attacked with grinder to remove larger sections quickly:-


    Clamped by bolt into lathe n smoothed it off a bit, lol.:-


    Wasn’t expecting Yantosh levels of engineering given its only my 3rd or 4th time to use lathe, but came out alright I think, for something that aint even going to be seen once on. Should do job. Drilled out centre to 14mm so no restriction to oil flow. Quick notch to give bitta grip for hose n clamp:-


    Gasket on turbo was fooked so grabbed an offcut of gasket material. I know theyre only couple quid new, but way I figure it that’s a couple quid towards something else. :-


    Quick chop n bolted it on to turbo. Good fit:-


    Don’t think Ive got any oil hose with big enough internal bore kicking about but I`ll have a proper look for some. Want a good 12-13mm internal bore ideally.

    Need some sort of bulkhead fitting for other end of drain hose into clutch cover. Seen some online but pricey. Got a few ideas in my head so might be able to make my own one of them too n save another few quid. That’s the next job for me really.

  20. #60
    Tyre destroying, mad bastard menace
    Join Date
    Mar 2008
    Location
    Ulladulla, New South Wales, Australia
    Posts
    4,905
    Love readin ur updates Jon, ur a handy little fucker aint ya!

Page 3 of 10 FirstFirst 12345 ... LastLast

Posting Permissions

  • You may not post new threads
  • You may not post replies
  • You may not post attachments
  • You may not edit your posts
  •